With Global Styles you can define the look of your newsletter once and apply it everywhere: in this guide we’ll show you how to customize, save, and recall them in just a few clicks.
How Emailchef Global Styles work.
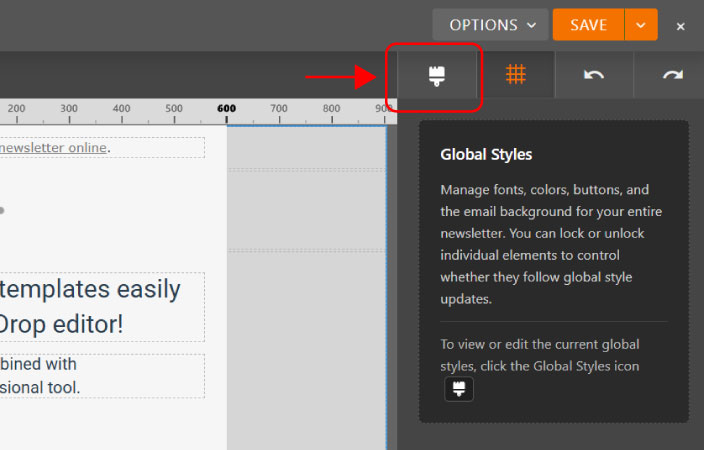
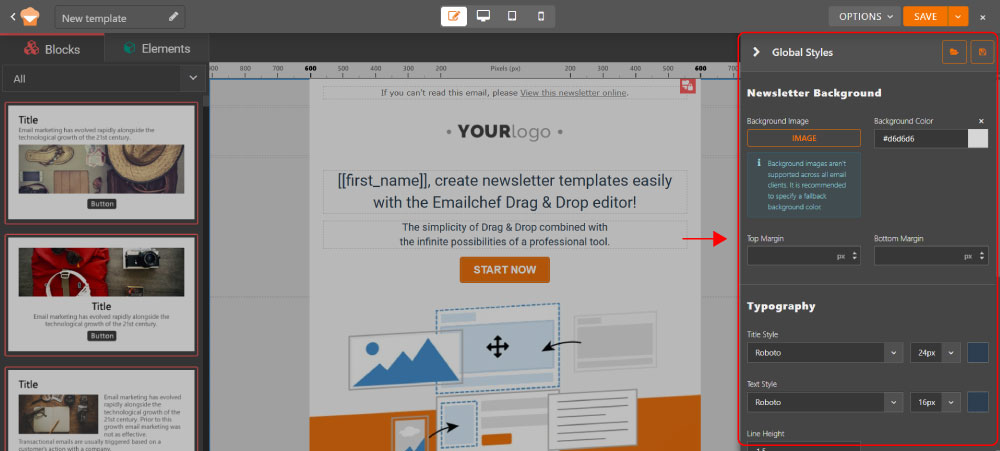
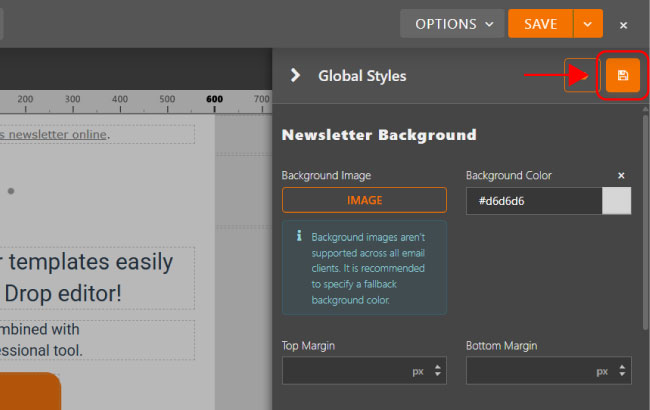
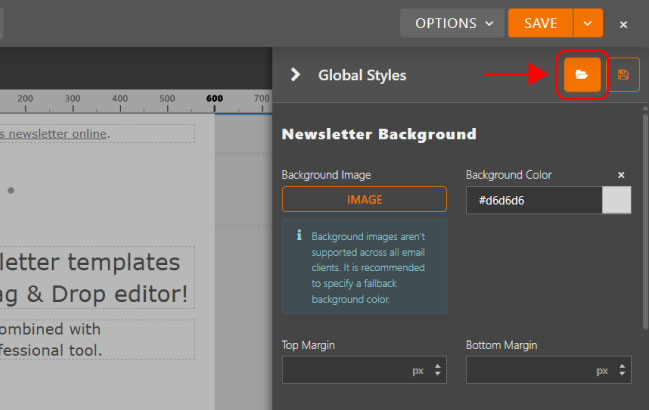
Global Styles let you define the overall appearance of your email from a single point, without having to manually edit every individual element.
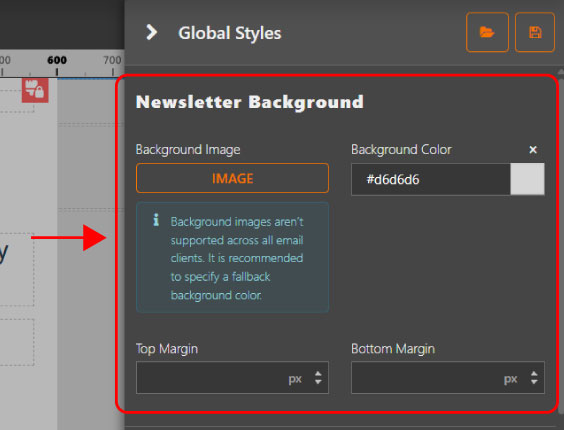
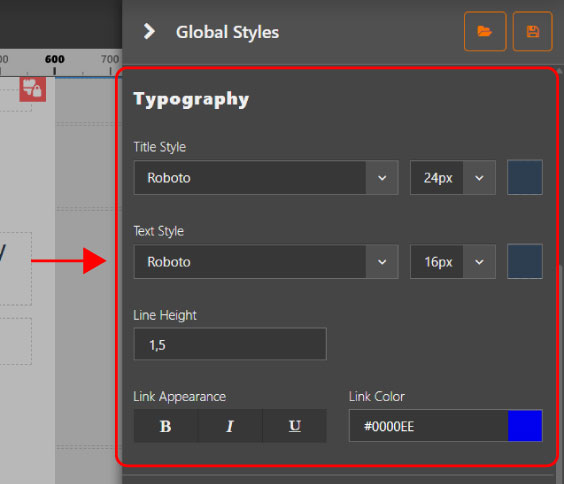
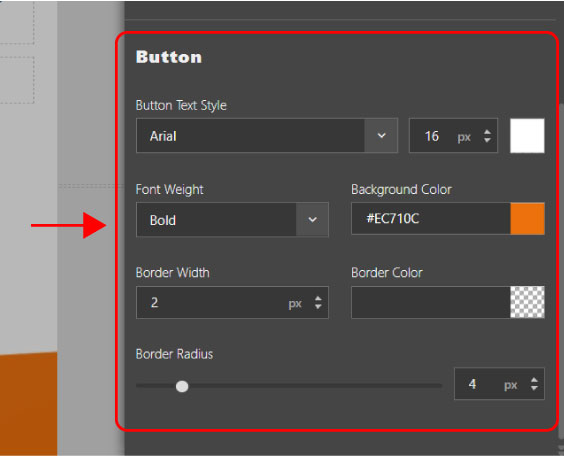
With this feature you can quickly and consistently set fonts, colors, buttons, and email background, automatically applying changes across the entire template. This saves you time, maintains visual consistency across your content, and simplifies the newsletter creation process.
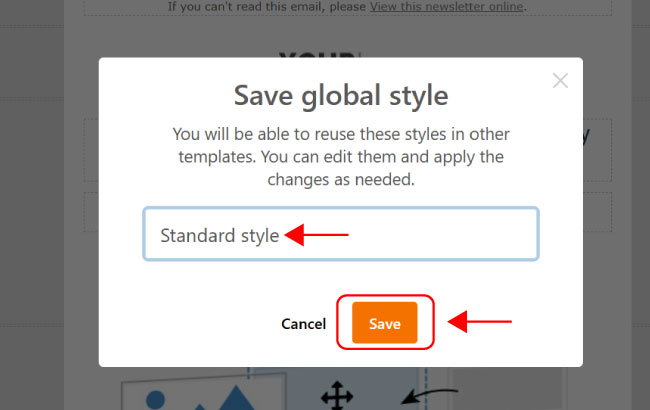
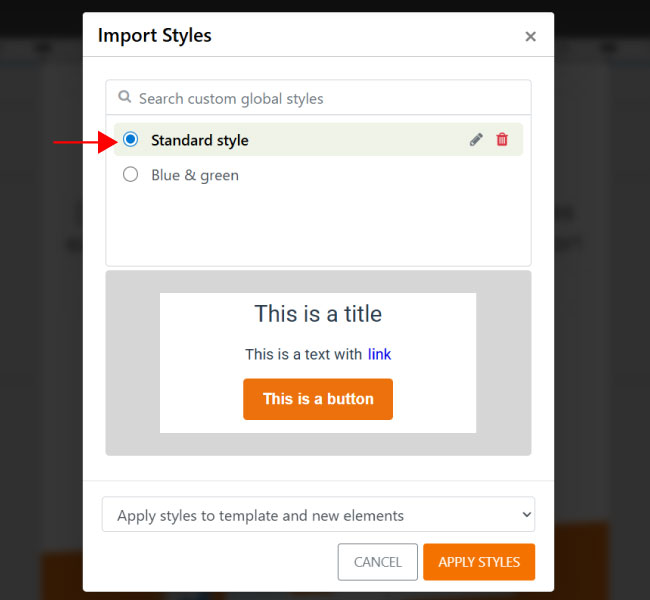
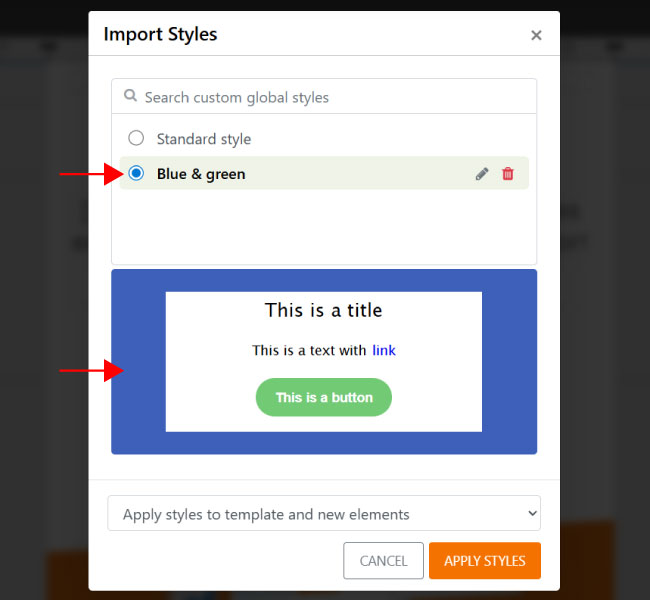
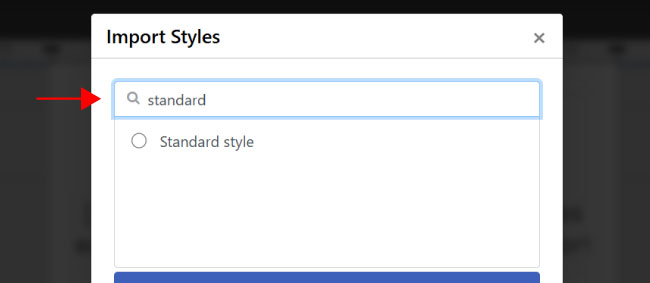
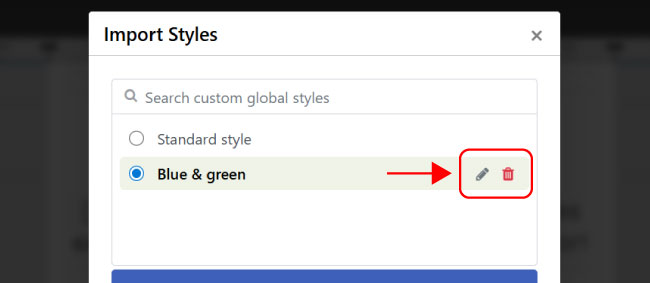
You can also save your preferred configurations and recall them in any other newsletter, ensuring brand consistency without starting from scratch every time.
Where to find your email's Global Styles.
To access Global Styles, open the Emailchef drag & drop editor and click the brush icon at the top of the right column.
The configuration panel will open, where you can manage all the graphic settings of your email.
The Global Styles panel includes several sections that let you control the appearance of the template.
1. Newsletter background.
You can customize the email background by choosing:
- the background image;
- the background color;
- the top and bottom margins.
These settings let you easily define the general layout of the template.
2. Typography.
You can define the style of the characters used in the newsletter, including:
- title and text style;
- >title and text size;
- >title and text color;
- >line height of text elements;
- >link color and link appearance (bold, italic, underlined).
Changes are automatically applied to all text elements linked to the Global Styles.
3. Button.
You can configure the appearance of buttons by setting:
- font and text size;
- background color;
- borders;
- border radius;
- text colors.
This ensures all buttons in the newsletter maintain a consistent style.
How Global Style changes work.
When you edit a setting in Global Styles, the changes are automatically applied to all corresponding elements. This means you can quickly update the look of your entire email without touching individual pieces of content.
If you manually edit the style of an element from the properties panel, the change will be local and will only affect that element.
You can also choose to lock or unlock one or more elements from the global style. In other words, you can decide whether an element should follow the Global Styles or keep a custom style.
Some elements (titles, text, and buttons) include two dedicated options:
Lock/unlock Global Style Settings for this element.
Lets you decide whether the element should follow the Global Styles or keep its own settings even when the Global Styles are changed.
To lock or unlock an element, simply select it in the workspace and click the brush icon with the padlock, available in the element’s options. If the element is locked, the icon will turn red. If it is unlocked, the icon is green.
In the block gallery, some special blocks do not automatically follow Global Styles. These blocks are recognizable by a brush and padlock icon.
Once added to the template, you can still manually apply Global Styles using the dedicated button available on the element.
All other blocks, on the other hand, automatically adopt Global Styles when added to the newsletter.
Apply Global Styles to this element.
The element immediately adopts the settings defined in the current Global Styles, matching the design of the rest of the newsletter.
To apply Global Styles, select the element in the workspace and click the brush icon with the checkmark available in the element’s options.
Saving and reusing Global Styles.
Once you’ve defined the ideal look for your newsletter, you can save the configuration and recall it in any future campaign, without having to manually set fonts, colors, and margins every time.
1. Save a style.
When you’ve perfected the look of your newsletter, you can save the configuration for future use.
Just click the Save Global Style icon (the floppy disk button) in the top right of the Global Styles panel.
A window will appear asking you to enter a name for the style. Give your global style a name and click Save.
You can save as many configurations as you like, building a library of ready-to-use styles.
2. Import a saved style.
When starting a new newsletter, you can recall a previously saved style in just a few clicks.
Click the brush icon for global styles on the right side of the editor.
Then select Import Styles (the folder button) in the Global Styles panel.
The import window will open, showing a list of all your saved configurations.
Scroll through the list using your mouse or keyboard arrow keys: a live preview at the bottom will show how titles, text, and buttons will look with that style.
You can use the search bar to quickly find a specific style by typing its name.
You can rename a style by clicking the pencil icon.
If you wish, you can delete a custom global style by clicking the trash can icon.
3. Choose how to apply the style.
Before confirming, you can choose how to apply the imported style using the dropdown menu at the bottom of the window. In this same screen you’ll also find a live preview of the selected style, so you can check how titles, text, background, and buttons will look before proceeding.
The available options are:
- Apply styles to template and new elements: updates the entire template to match the saved style.
- Apply styles to new elements only: keeps your existing blocks as they are, but any new blocks you add will follow the imported style.
Once you’ve chosen your option, click Apply Styles to confirm. The style will be imported into the Global Styles configuration of your current newsletter.
⚠️ PLEASE NOTE
The behavior of imported styles follows the same rules as Global Styles. The new settings will be instantly applied to all unlocked elements. Elements that have been manually locked will retain their custom style and will not be affected by the import.


