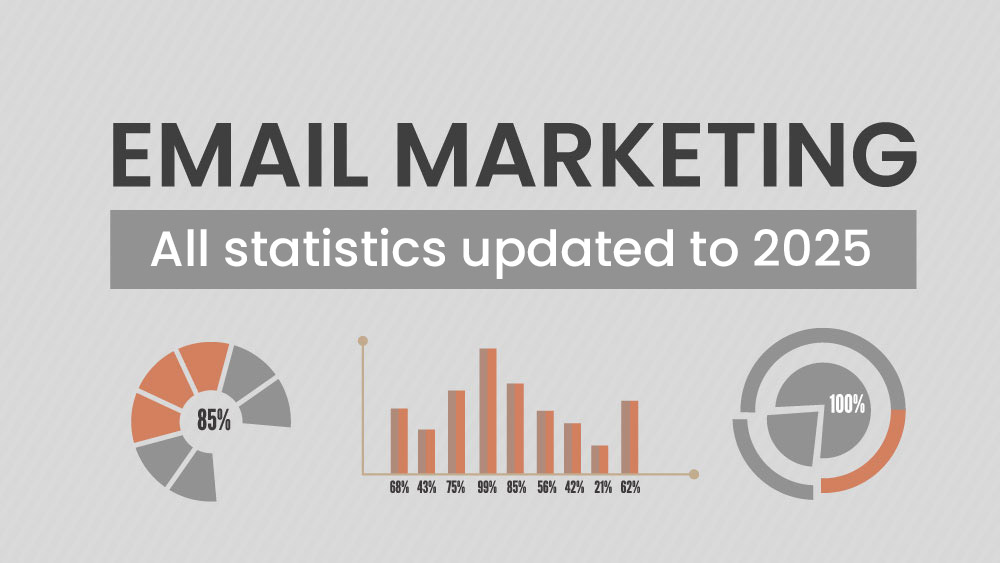
Once logged in, select ‘Lists and Segments’ from the left-hand side menu and choose the list where you want to insert the contact.
If you haven’t created a list yet, simply click on the button ‘Create a new list’.
Once you have selected the list, click on ‘Add/Import Contacts’ and select ‘Add contact’ from the dropdown menu that will appear.
At this point, a page will open where you can enter the information about your contact: input the data, check the box “Yes, I have permission to add this contact to the list,” and click on the ‘Add’ button at the bottom right.


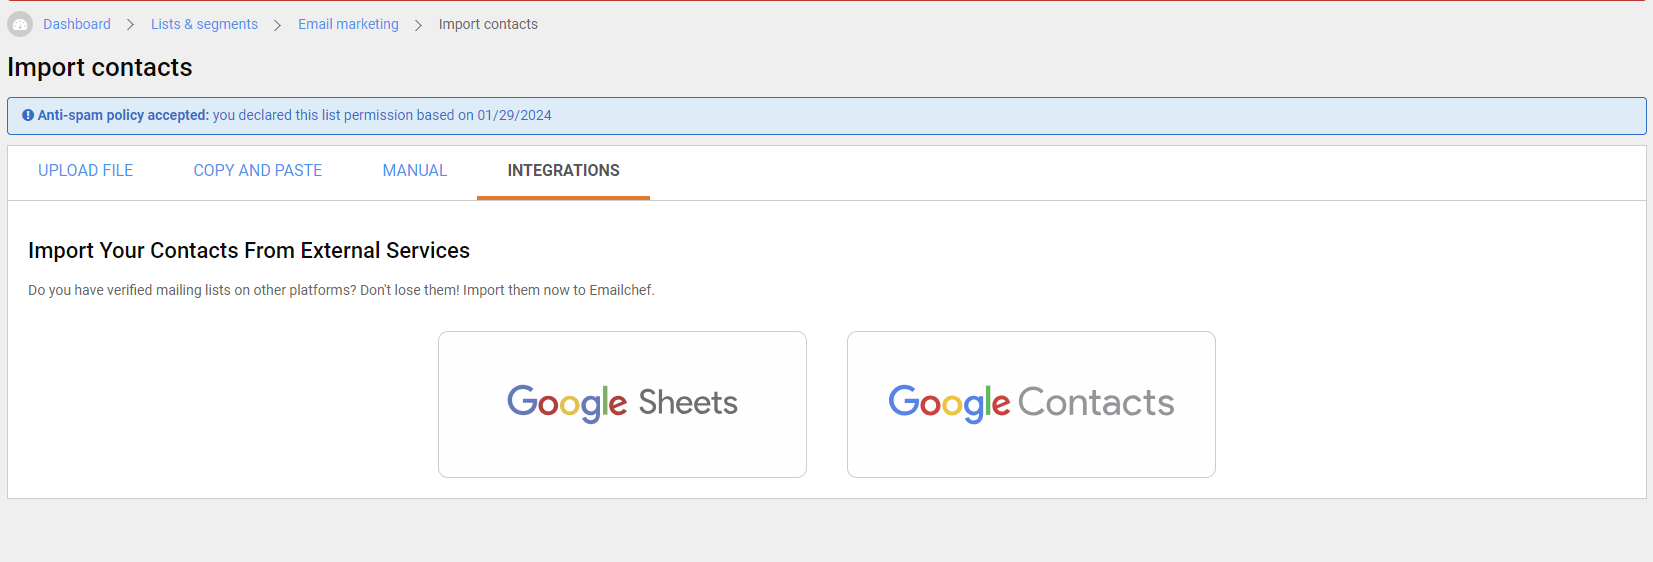
![[EN] How to import contacts from Google Contacts](https://emailchef.com/wp-content/plugins/wp-youtube-lyte/lyteCache.php?origThumbUrl=https%3A%2F%2Fi.ytimg.com%2Fvi%2FOdSRTXyy20s%2F0.jpg)

![[EN] How to import contacts from SendBlaster](https://emailchef.com/wp-content/plugins/wp-youtube-lyte/lyteCache.php?origThumbUrl=https%3A%2F%2Fi.ytimg.com%2Fvi%2FbYzHcrDyYhM%2F0.jpg)