Labels are a simple way to organize your campaigns and autoresponders in Emailchef. They also let you filter your campaigns and autoresponders for easy searching.
There are a number of ways to create labels and add them to your campaigns and autoresponders. You’ll also be able to change or remove a label you’ve created at any time.
The labels you’ve created will stay on your campaign regardless of any change in the campaign’s status from draft to scheduled, sent, or archived. Labels also remain on autoresponders whether you enable or disable them.
In this article, you’ll learn how to:
- Create, change, and remove labels on any Campaign or Autoresponder,
- Search and filter campaigns and autoresponders by label,
- Rename or delete labels in Emailchef.
Create a Label on any Campaign or Autoresponders
To create a label for your campaigns or autoresponders, follow these steps:
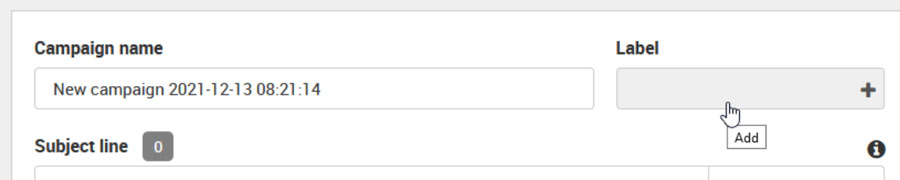
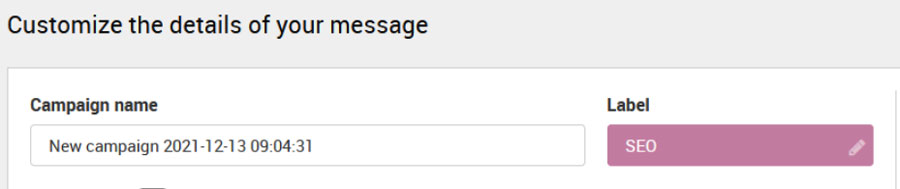
1. Within a new or existing draft campaign, or an autoresponder, click the label field.
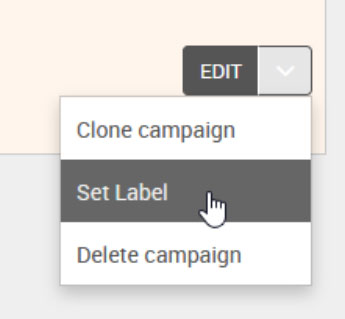
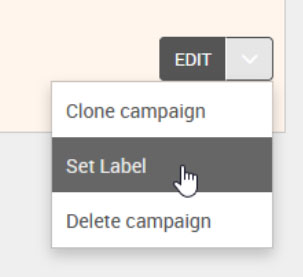
In alternative, To create a new label on an existing campaign or autoresponder, Click the arrow icon next to the Edit button and choose “Set label” from the drop-down menu.
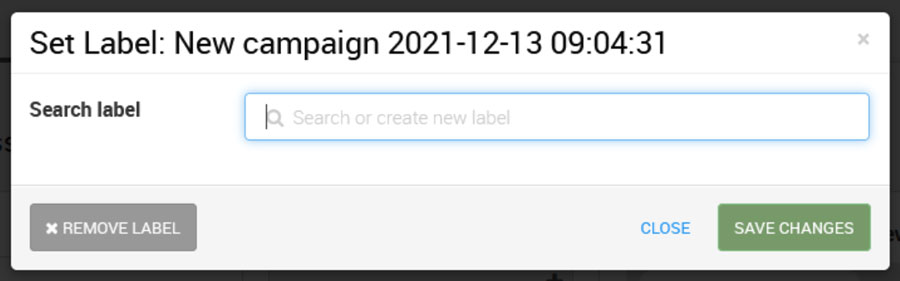
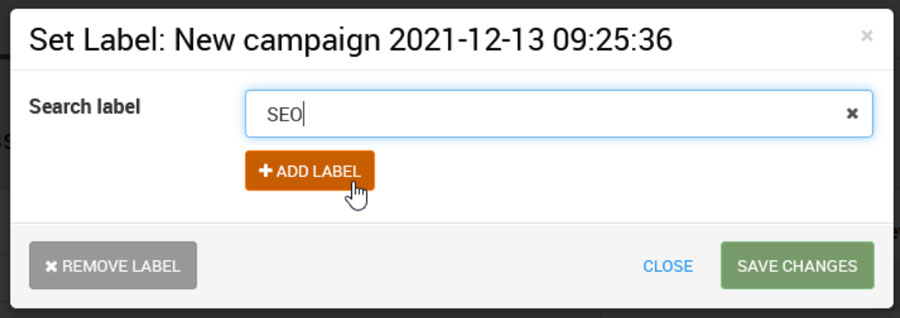
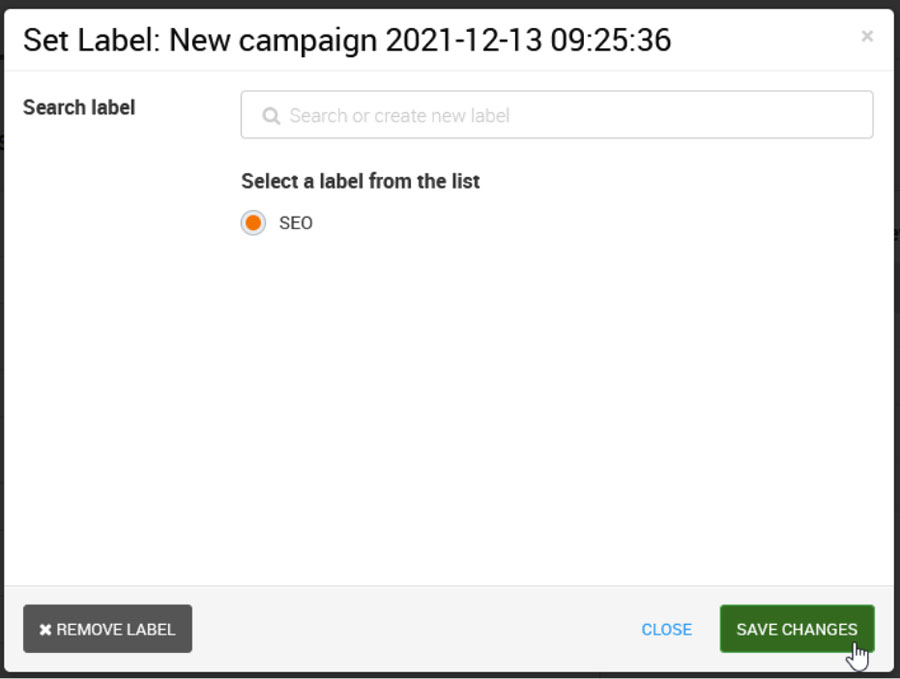
2. In the search bar of the pop-up window, enter your label’s name. In this example, we enter “SEO.”
3. Click the “+Add label” button.
4. Now click “Save changes”.
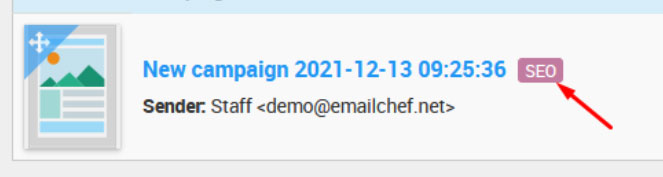
5. You’re done. Your label has been added to your campaign or autoresponder.
Change a Label on Any Campaign or Autoresponder
You can change a label on any of your campaigns or autoresponders at any time.
To change a label, follow these steps:
1. Click the arrow icon next to the Edit button and choose “Set label” from the drop-down menu.

2. In the pop-up window, select a different label, or create a new label in the search bar, and click “Save changes”.

3. You’re done. Your label has now been changed to your campaign or autoresponder.
Remove a Label From Your Campaign or Autoresponder
To remove a label from any of your campaigns or autoresponders, follow these steps:
1. Click the arrow icon next to the Edit button and choose “Set label” from the drop-down menu.
2. In the pop-up window, click the “Remove label” button.
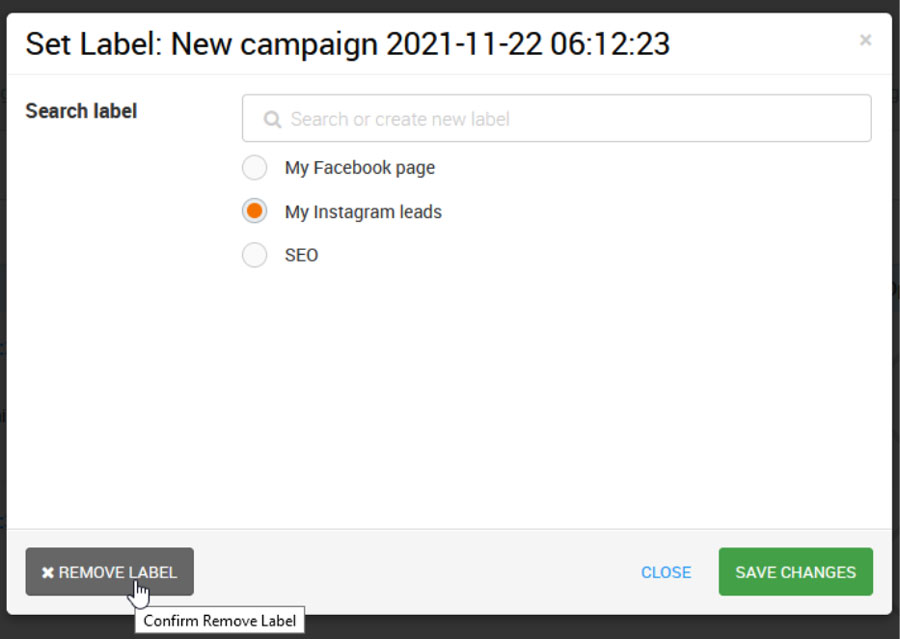
3. Then click “Confirm” and that’s it! You’ve removed the label from the campaign or autoresponder.
Filter your Labeled Campaigns or Autoresponders
To filter campaigns or autoresponders that carry labels, follow these steps:
1. Click the search bar marked “Label filter” to display a list of all the labels you’ve created.
Tip: Start writing the label name and the filter will display matching options.

2. Select a label to filter and see every campaign or autoresponder carrying that label.
Rename a Label
You can rename any label you’ve created at any time. Changing the label affects all campaigns and autoresponders that carry that label.
To rename a label, follow these steps:
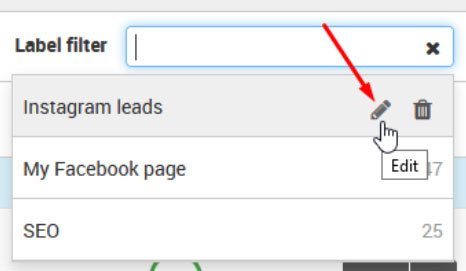
1. Click the “Label filter”.
2. Place your cursor over the label you want to change, and click the “Edit” icon.
3. Enter the new label, and click the “Save” icon.
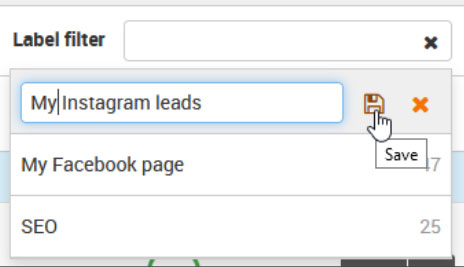
4. Done. You’ve changed the label.
Delete a Label
To delete a label that you no longer need, follow these steps:
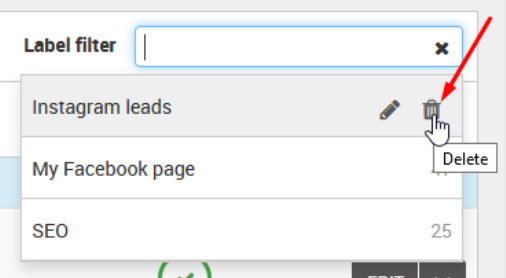
1. Click the “Label filter”.

2. Place your cursor over the label you want to delete, and click the “Delete” icon.
3. And to complete the action click the “Confirm” button in the pop-up window to delete the label.
Note: The label’s campaigns or autoresponders will remain in your account but they will no longer carry this label.