Once you’ve selected the “trigger” event, you may need to select the campaign or link you that defines the event.
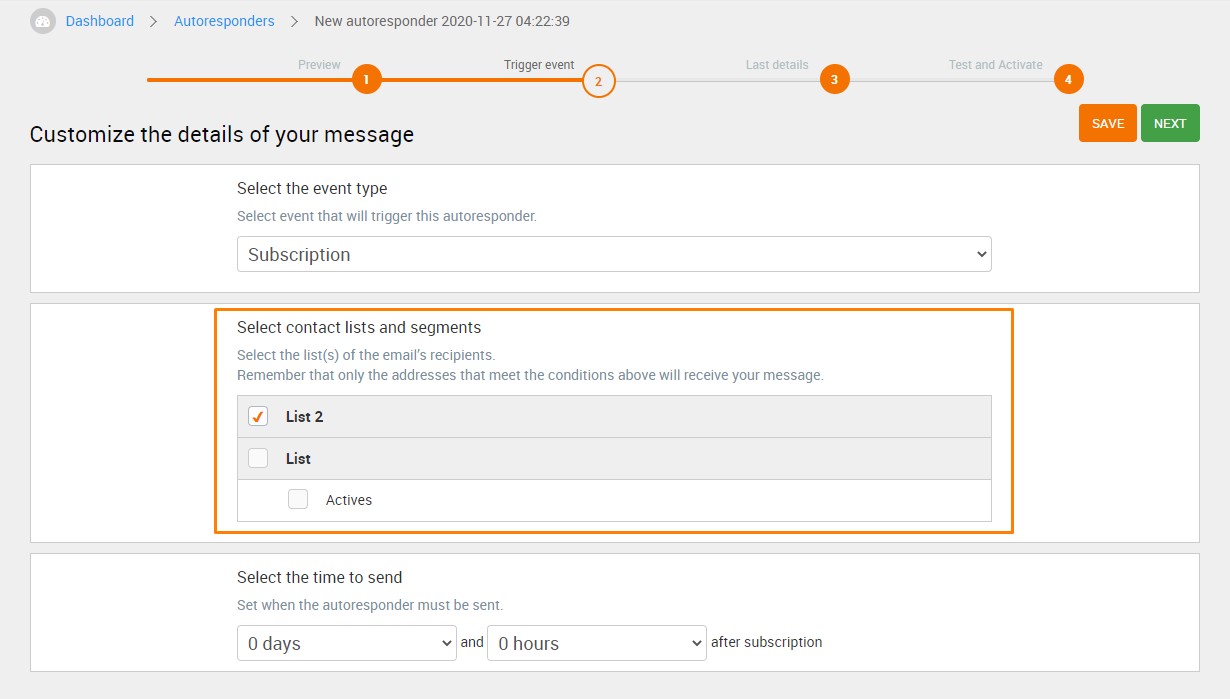
Next, select the lists or list segments to which you will send the autoresponder. Remember that the automated email will only be sent to addresses that meet the event conditions.
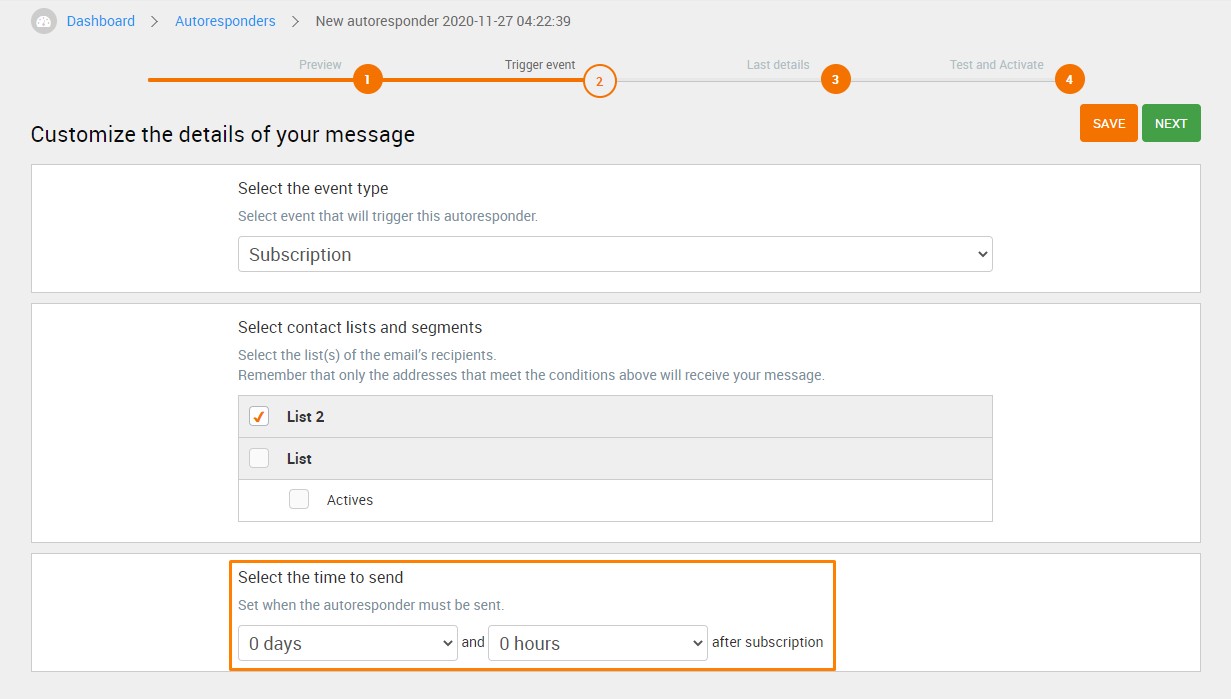
Set the amount of time after the occurrence of the event to send the autoresponder. If you set the time to “0 days” and “0 hours”, the autoresponder will be sent as soon as the event occurs.
Click “NEXT” to continue.
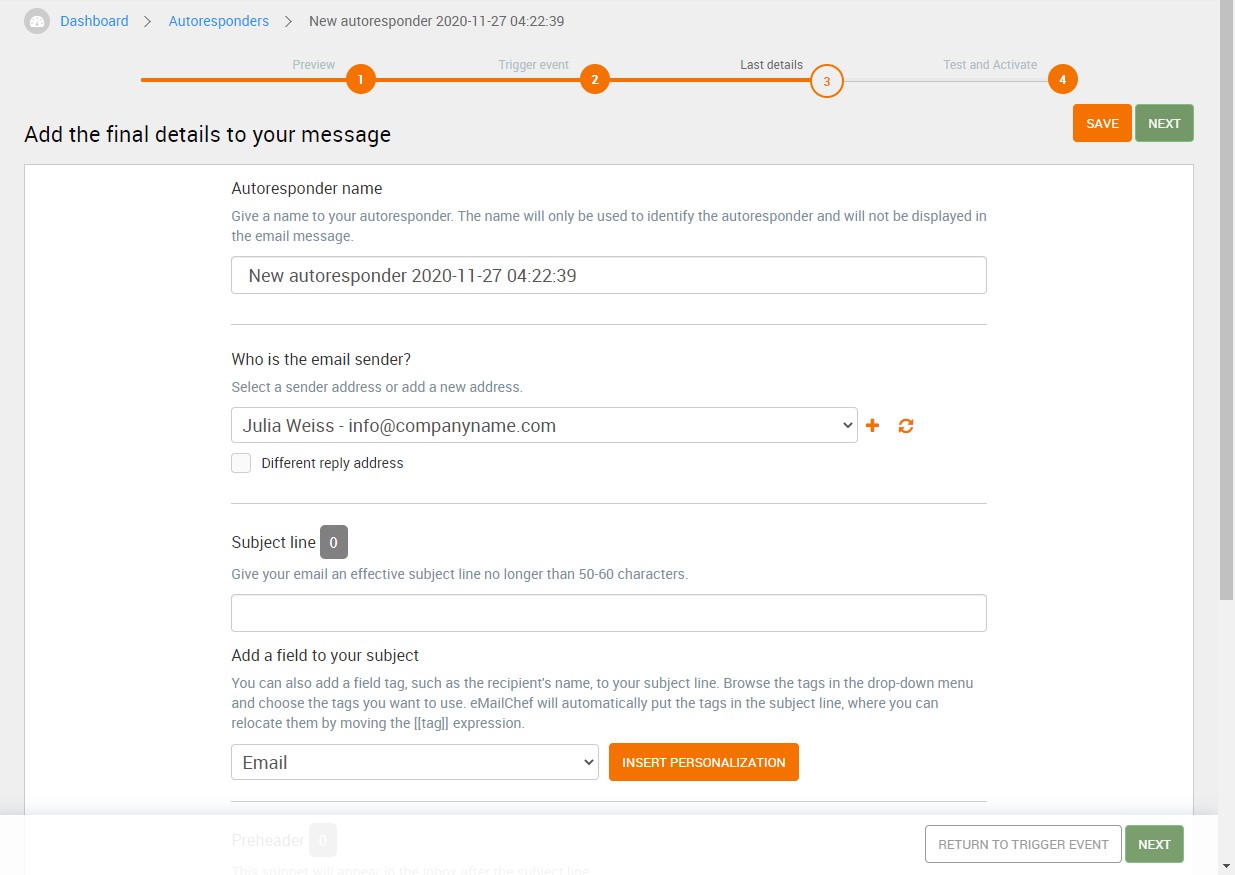
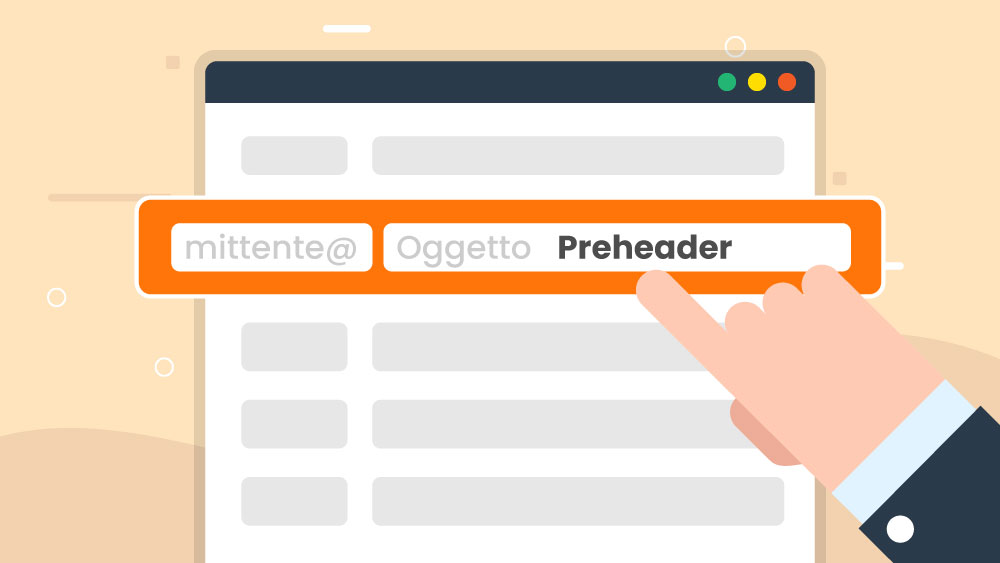
Complete the form below with the name of the autoresponder, the sender, and the subject. You can also add the preheader.
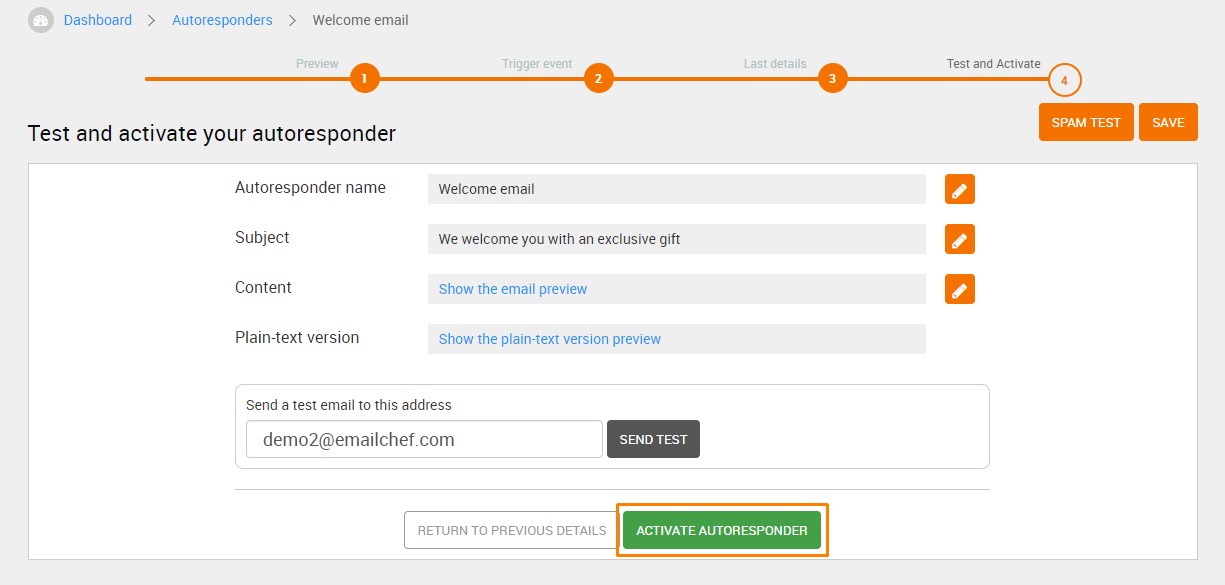
Click “NEXT” to continue. On the summary page, click “ACTIVATE AUTORESPONDER” to activate your autoresponder immediately.
We recommend watching this video tutorial which contains a summary of autoresponders and an example of how to create an automatic email for birthday greetings:


