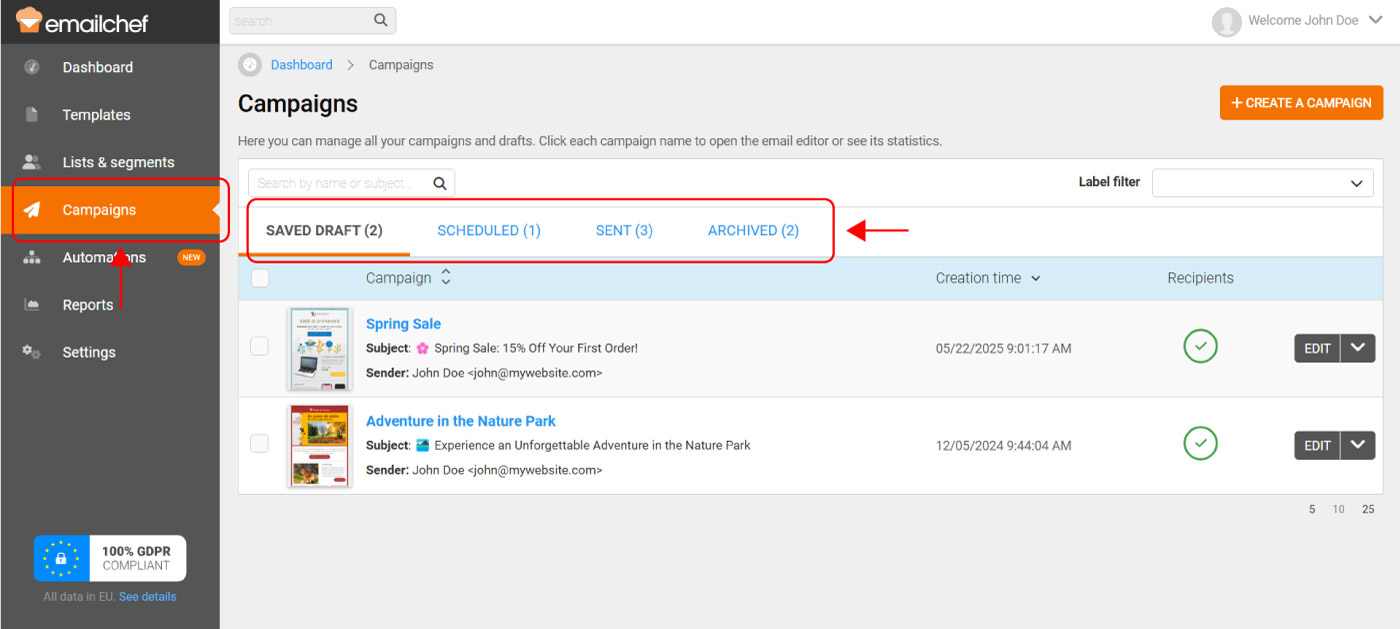
The Campaigns section provides you a list of all the campaigns sent, scheduled, saved in draft and archived.
Use the tabs to quickly switch between categories and find the campaigns you need.
Campaign categories explained:
Saved drafts → Campaigns in progress, saved but not yet sent.
Scheduled → Campaigns scheduled to be sent at a future date and time.
Sent → Completed campaigns already sent, as well as campaigns manually stopped by the user during sending (Stopped by user).
Archived → Campaigns moved from the Sent section when no longer needed. Both “Sent” and “Stopped by user” campaigns can be archived, and they can always be restored back to the Sent section.
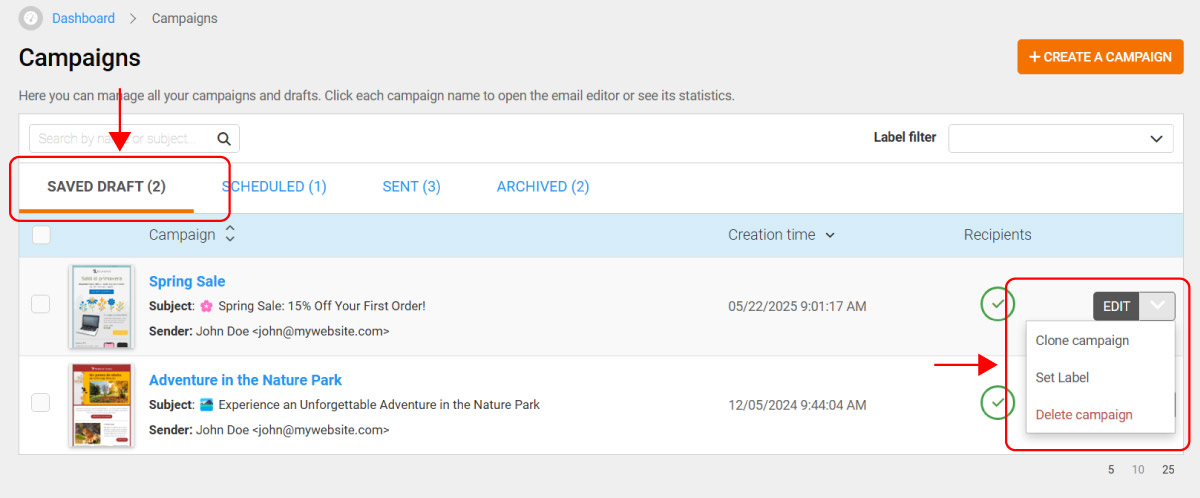
Managing saved drafts.
In the Saved draft section, you can easily continue working on your campaigns.
Click on EDIT to open and edit a draft, or use the drop-down menu next to it for additional options.
From here, you can clone the draft to create a new campaign, assign a label to better organize your work, or delete the draft if it’s no longer needed.
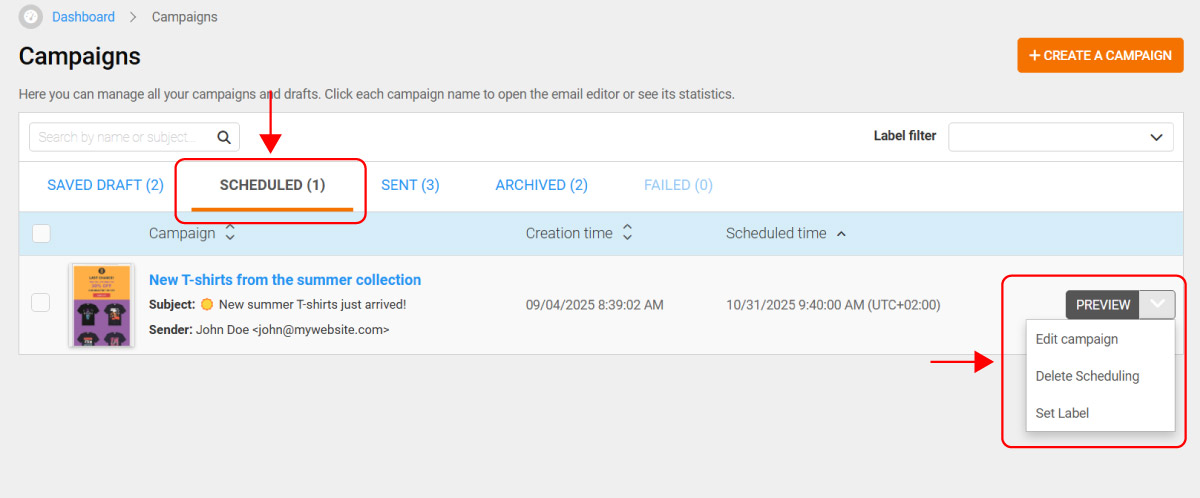
Managing scheduled campaigns.
In the Scheduled campaigns section, you can see the exact date and time your emails are set to be sent.
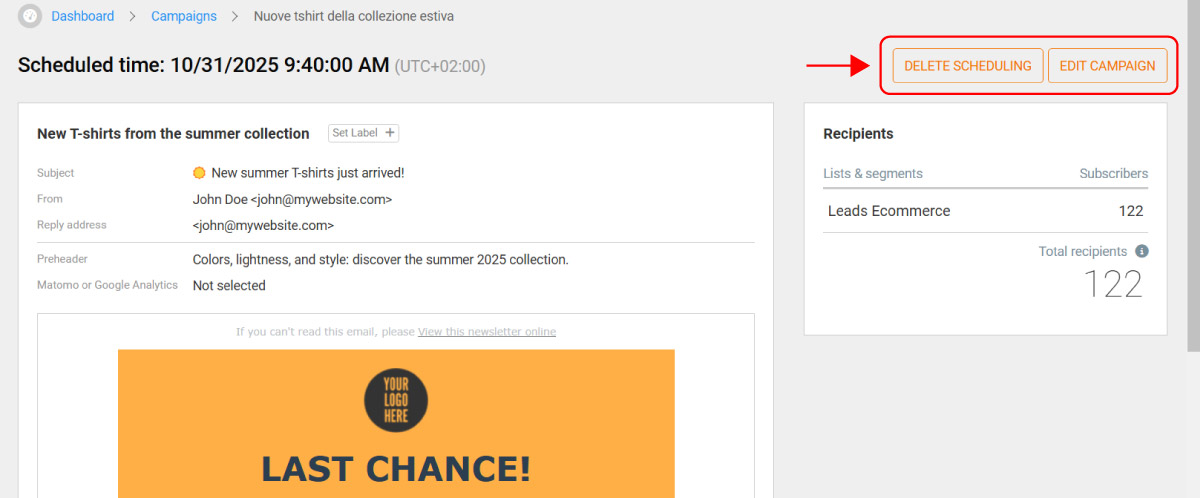
Each campaign has a PREVIEW button: clicking it opens a detailed preview of the campaign, showing the template along with key details such as subject line, sender name, and other settings.
Inside the preview screen, at the top right, you’ll also find two options:
DELETE SCHEDULING: to cancel the scheduling and move the campaign back to Saved drafts.
EDIT CAMPAIGN, which lets you modify the campaign before it is sent.
Next to the PREVIEW button, you’ll also find a drop-down menu with three actions:
Edit Campaign allows you to open a scheduled campaign and make changes to its content or settings before it is sent.
Delete Scheduling cancels the scheduled delivery. The campaign will no longer be sent at the planned date and time, and it will be moved back to your saved drafts so you can keep it on hold or reschedule it later.
Set Label lets you assign a label to your campaign. This helps you organize and group your scheduled campaigns, making it easier to find and manage them when you have several active at once.
Managing sent campaigns.
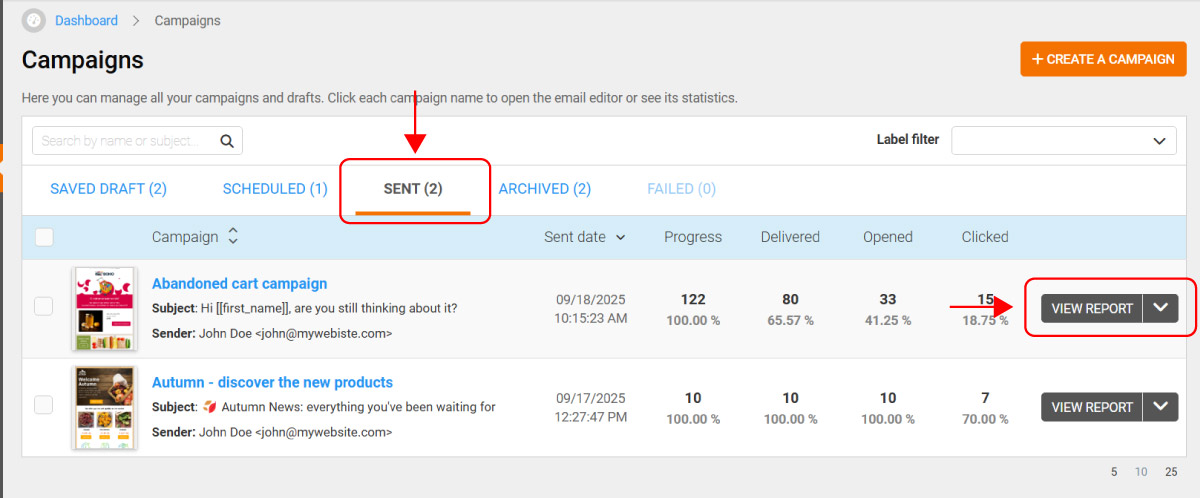
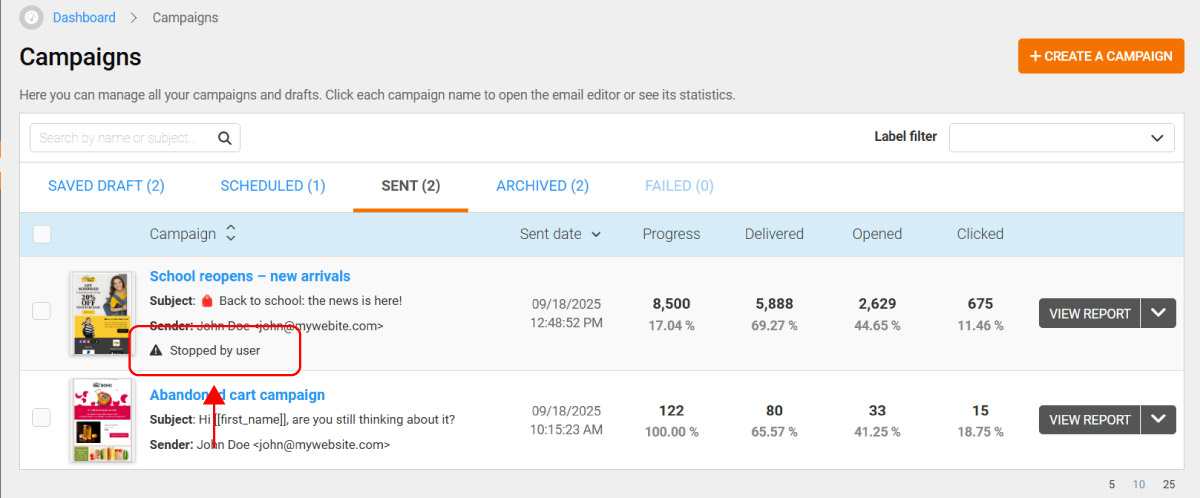
In the Sent campaigns tab, each campaign shows a clear summary of its key statistics. You can quickly see the send status, how many emails were delivered, how many were opened, and how many were clicked.
For a complete view of your campaign’s performance, click the campaign name or the VIEW REPORT button to access a detailed report with all the insights you need.
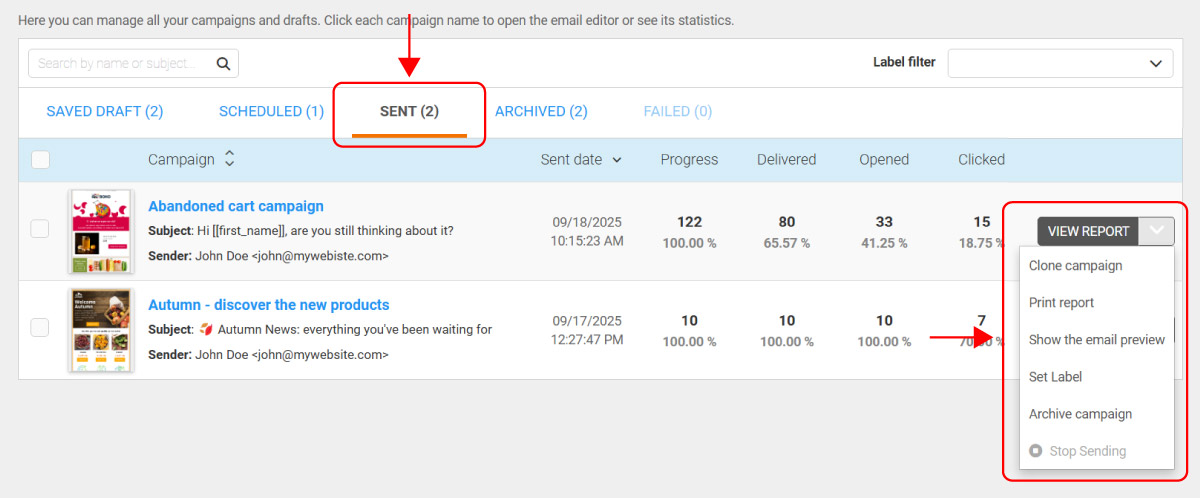
You can manage each sent campaign directly from its drop-down menu next to the ‘VIEW REPORT’ button.
Here you can:
clone the campaign to create an editable copy;
print the report;
preview the email;
assign a label for easy organization;
archive the campaign;
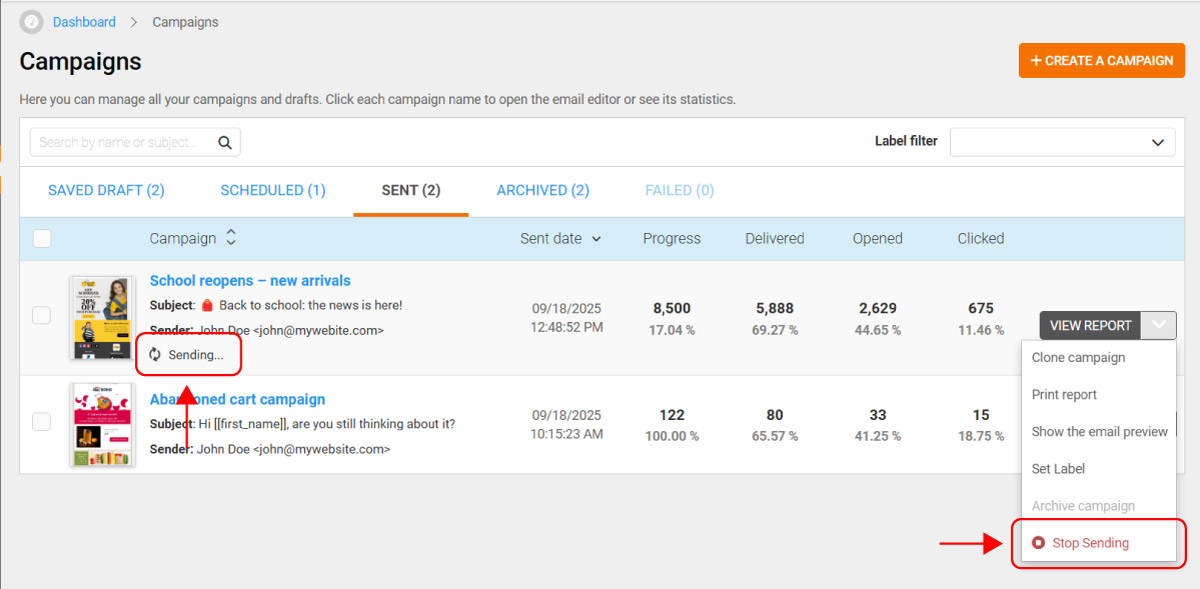
stop sending (if the campaign sending is currently in progress).
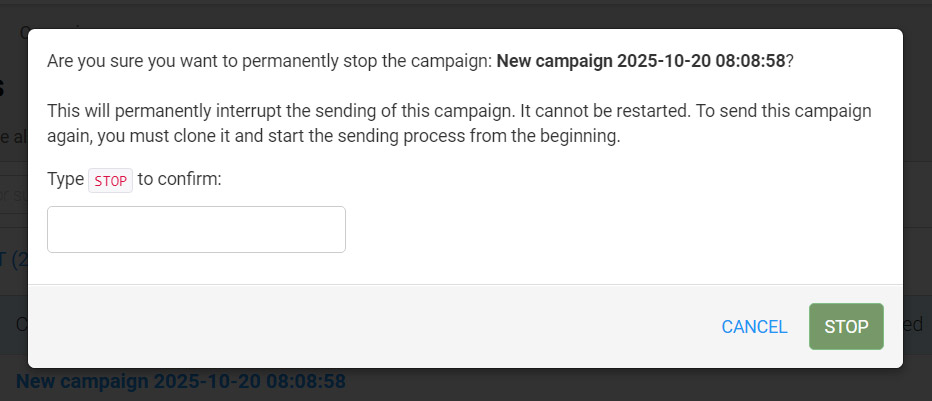
The new ‘Stop Campaign’ feature lets you instantly halt a campaign that is actively sending. Click on Stop Campaign, confirm by typing ‘STOP,’ and the campaign will immediately change its status to Stopped by user.
You can use this option only while the campaign is still sending and cannot be used once the campaign has been fully sent. Once stopped, the campaign is permanently marked as interrupted, and this status is reflected in the detailed campaign report, as well as in Segments, Flows, and CSV exports.
Managing archived campaigns.
In the Archived section, you’ll find all the campaigns you’ve chosen to archive.
Each campaign can still be reviewed in detail by clicking the ‘VIEW REPORT’ button.
Next to it, a drop-down menu gives you additional options: you can clone the campaign, print its report, preview the email, assign a label for better organization, or restore the campaign so it reappears in the Sent section.