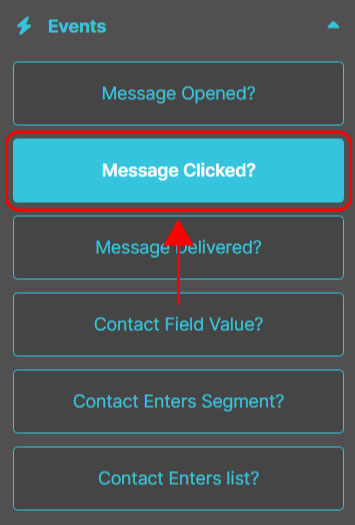
The Message clicked event allows you to monitor whether a contact clicks on a link within a specific email within a time frame you define.
It’s particularly useful for measuring interest in specific content. For example, you can wait for a contact to click on the registration link for a webinar and, if they do, immediately send them the participation details.
How to configure the Message clicked event.
1. Select the message type.
Choose whether to monitor clicks in a campaign, a flow email, or an autoresponder (if active).
2. Select the specific message.
Choose the exact email in which you want to track the click.
3. Define the type of click.
You can decide whether to monitor clicks on any link within the email or only on a specific link (which you’ll need to specify).
4. Set the waiting interval.
Define the maximum time within which the event must occur (in minutes, hours, days, or weeks). You can set up to 30 days. If the event does not occur within this limit, the contact will automatically follow the No path.
🔀 Next paths.
If the click occurs within the defined time, the contact will follow the Yes path. Otherwise, they will automatically follow the No path.