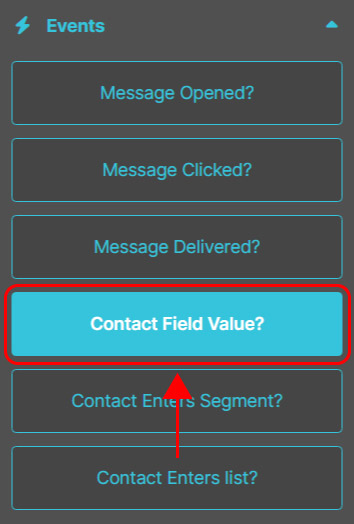
The Contact field value event allows you to monitor when a contact’s profile field takes on a specific value.
It’s perfect for creating dynamic, personalized automation paths based on changes in your contacts’ data. For example, you can wait until the “Status” field changes to “Customer” and then send a dedicated welcome email.
How to configure the Contact field value? event.
1. Select the reference list.
Choose the list that contains the contacts you want to monitor.
2. Choose the contact field.
Select the field in the contact profile you want to track (e.g., “Status”, “City”, or another custom field).
3. Set the comparator.
Define the type of comparison to apply between the field and the desired value:
is;
is not;
contains;
does not contain;
is not empty.
4. Enter the value.
Specify the value that should trigger the automation (e.g., “Customer”, “VIP”, “Expired”).
5. Set the waiting interval.
Define the maximum time within which the event should occur (in minutes, hours, days, or weeks). You can set up to 30 days. If the event does not happen within this time frame, the contact will automatically follow the No path.
🔀 Next paths.
If the contact’s field takes on the specified value within the defined time, the contact will follow the Yes path. Otherwise, they will automatically follow the No path.