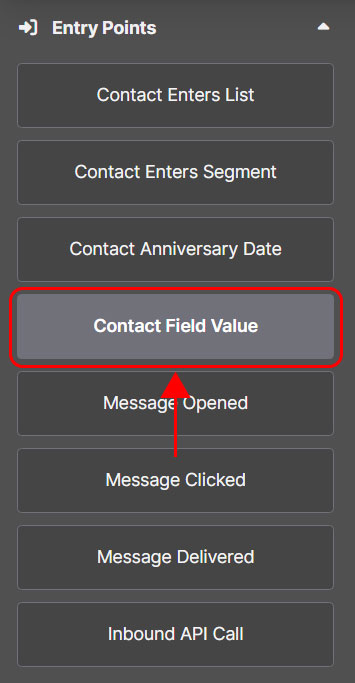
The Contact Field Value entry point is triggered when a specific field in a contact’s profile meets a defined condition.
Select the date that will trigger the automation. This can be a predefined date (such as the subscription date) or a custom field you’ve created (for example, “Birthday” or “Expiration Date”).
For example, you can start a flow when the value of a custom field, such as “Status”, changes to Customer.
This allows you to automate actions based on updates to your contacts’ data, making your communications even more relevant and timely.
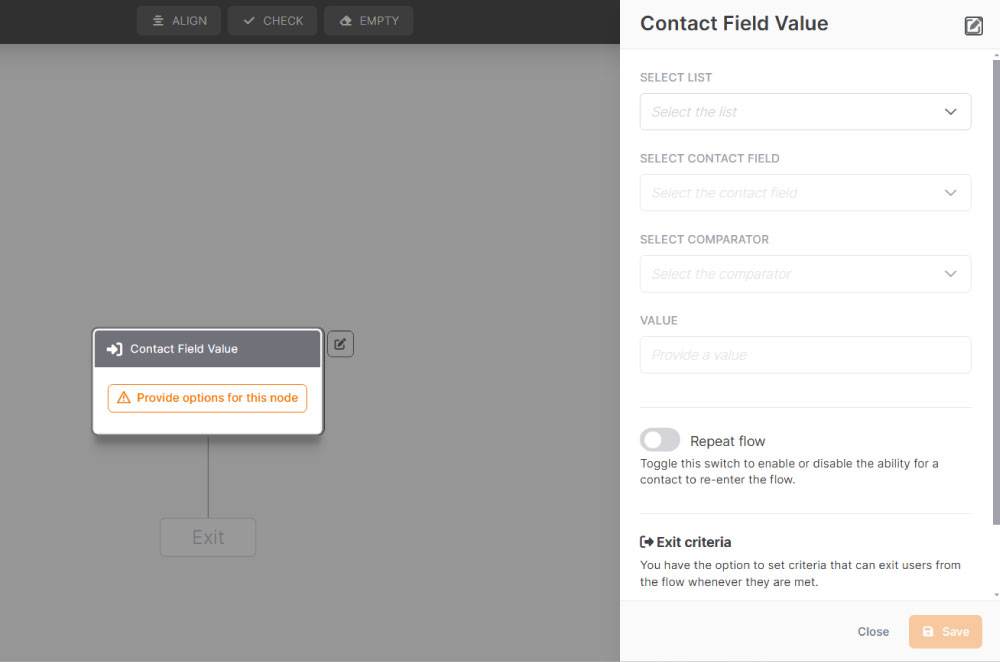
How to set up the “Contact Field Value” trigger.
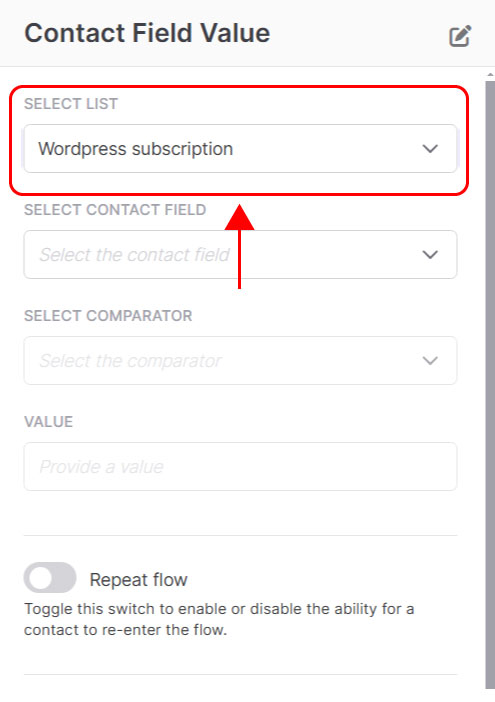
1. Select the target list.
Choose the list that contains the contacts you want to monitor.
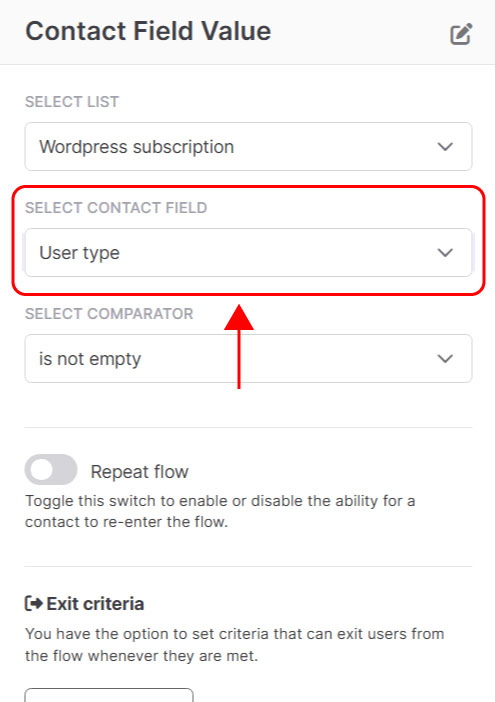
2. Choose the contact field.
Select which contact profile field you want to track (for example: “Status,” “City,” or a custom field).
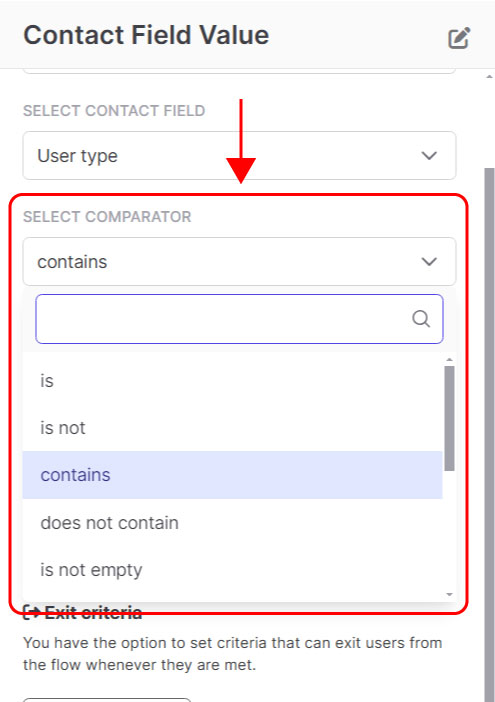
3. Set the comparator.
Choose the type of comparison between the field and the target value:
is;
is not;
contains;
does not contain;
is not empty.
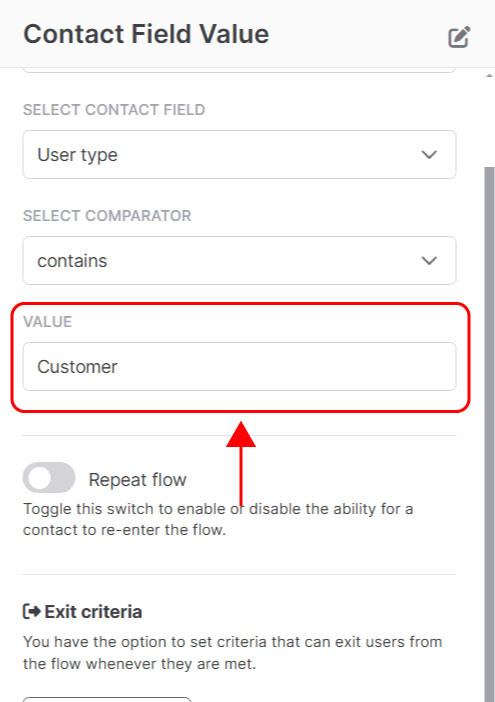
4. Enter the value.
Specify the exact value that will trigger the flow (for example: “Customer,” “VIP,” or “Expired”).
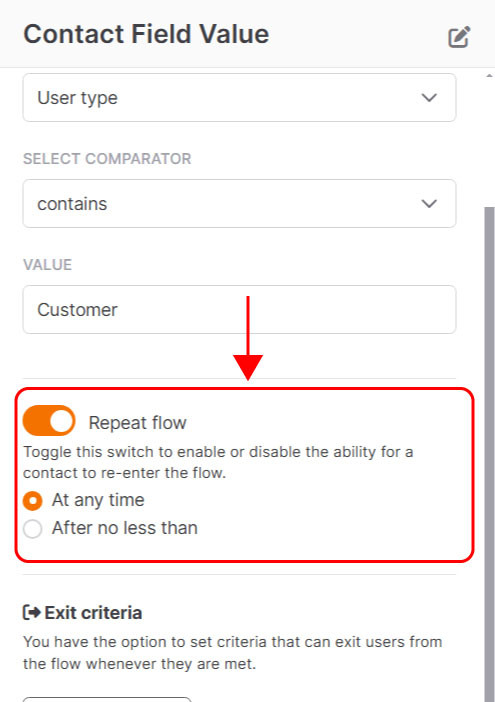
5. Set “Repeat flow”.
By default, a contact can go through the flow only once: this means that once the sequence is completed, they won’t be able to re-enter.
If you enable Repeat Flow, however, the same contact will be able to repeat the sequence multiple times, each time they meet the entry condition again.