Labels help you organize and quickly find your automation flows in Emailchef. You can use them to categorize your Flows, filter them in one click, and keep everything under control—even as they grow in number.
Creating a label is easy, as is assigning it to one or more Flows, editing it, or removing it.
How to assign a label to a Flow.
To create a label for one of your automations, follow these steps:
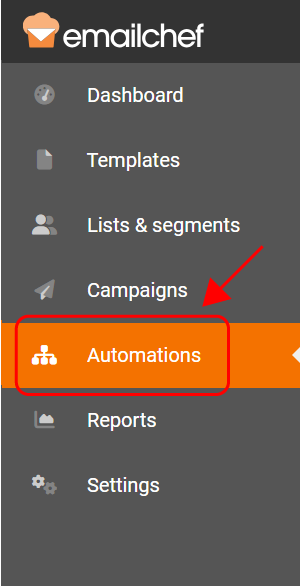
Log into your Emailchef account and select Automations from the left menu.
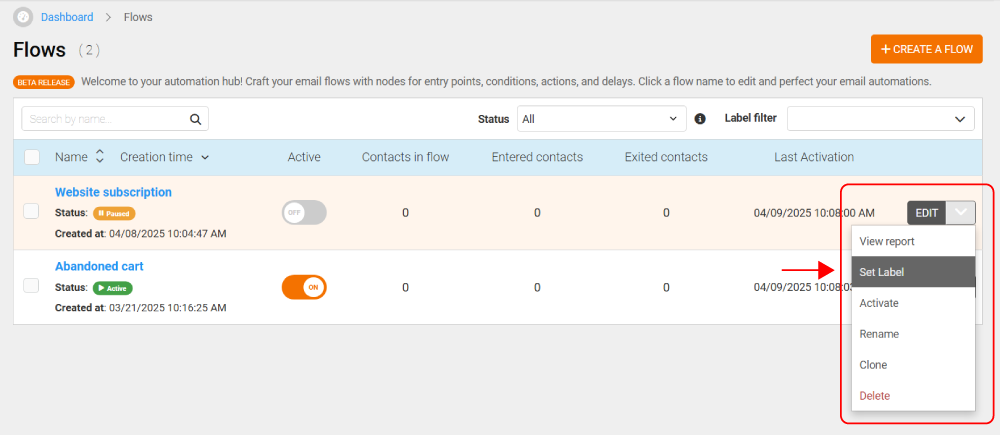
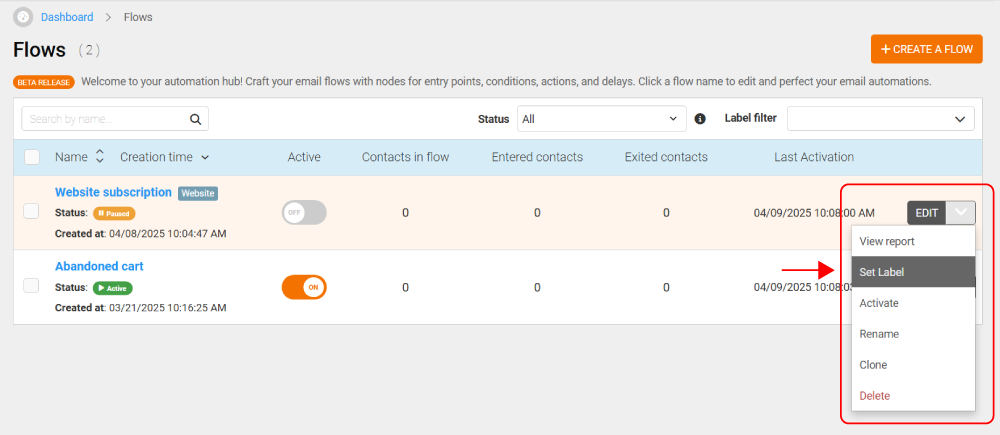
Open the dropdown next to the Edit button of the Flow you want to label.
Click on Set label.
Create a new label or choose an existing one.
Click Save Changes.
Your label is now correctly assigned to the Flow.
How to assign a label to multiple Flows at once.
To assign a label to multiple Flows:
Log into your Emailchef account and go to Automations.
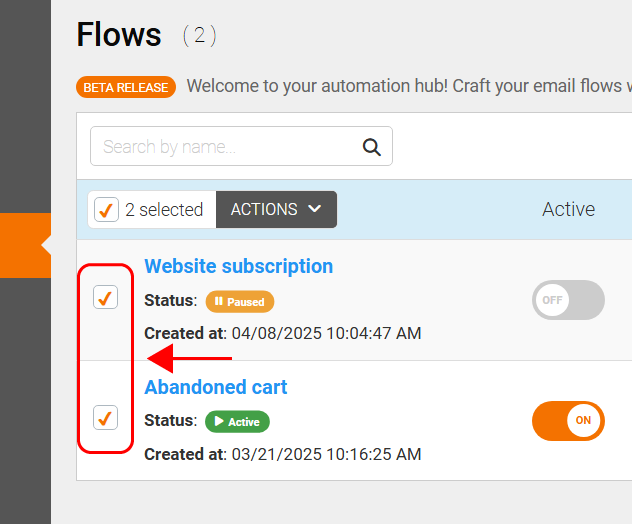
Select the Flows you want to label by ticking the boxes next to their names.
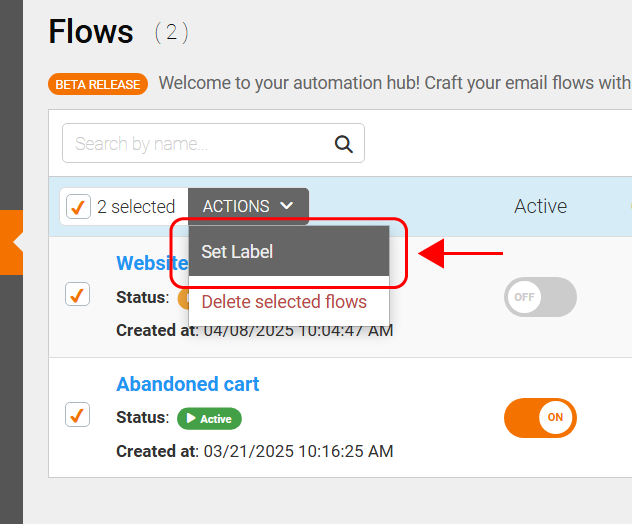
At the top, click the Actions button, then Set label.
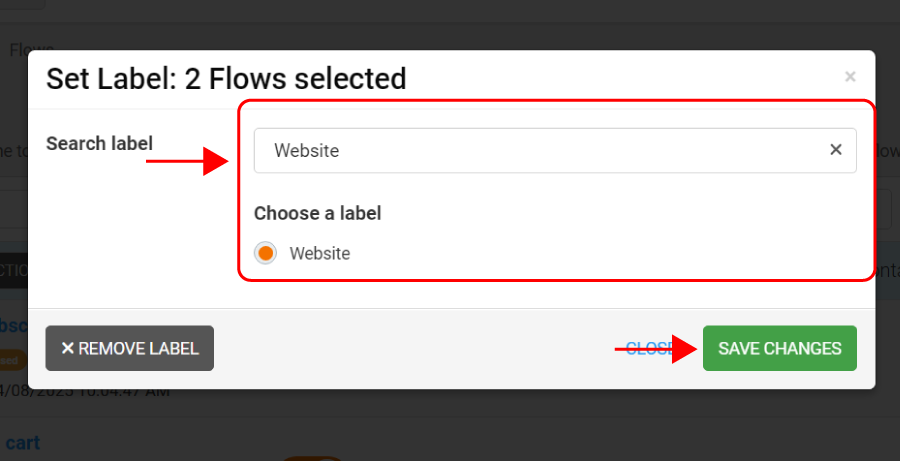
In the popup, create a new label or choose an existing one.
Click Save Changes to apply the label to all selected Flows.
Now all selected Flows share the same label.
How to edit a Flow’s label.
You can update a Flow’s label anytime. Here’s how:
Log into your Emailchef account and go to Automations.
Go to the Flow whose label you want to edit and open the dropdown menu next to the Edit button.
Click Set label.
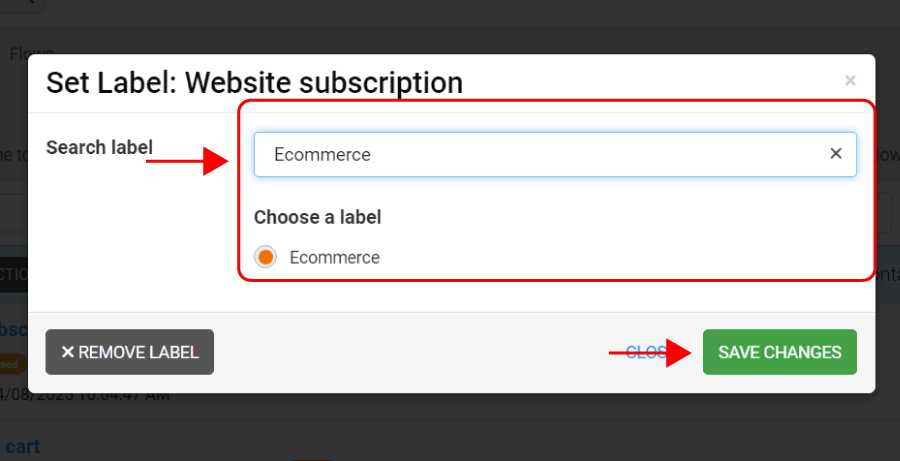
Choose a new label or create a new one.
Click Save Changes.
The label has been successfully updated.
How to remove a label from a Flow.
If you no longer need a label, you can remove it:
Go to Automations in your Emailchef account.
Go to the Flow from which you want to remove the label and open the dropdown menu next to the Edit button.
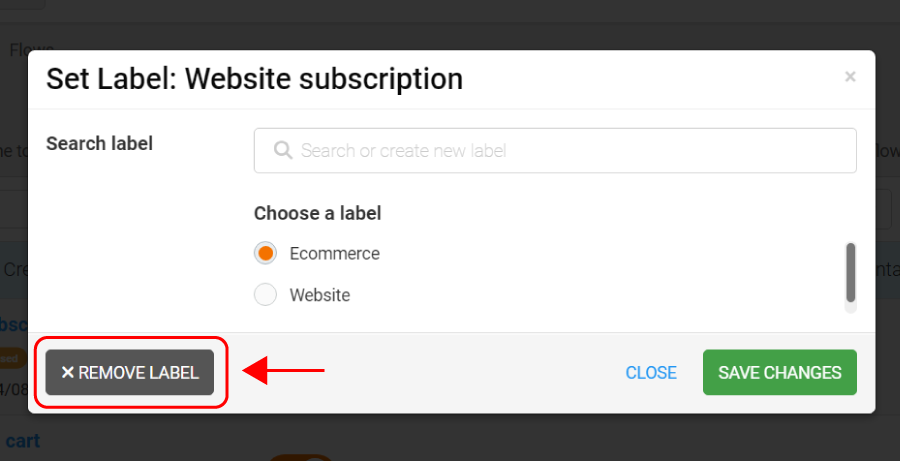
Click Set label.
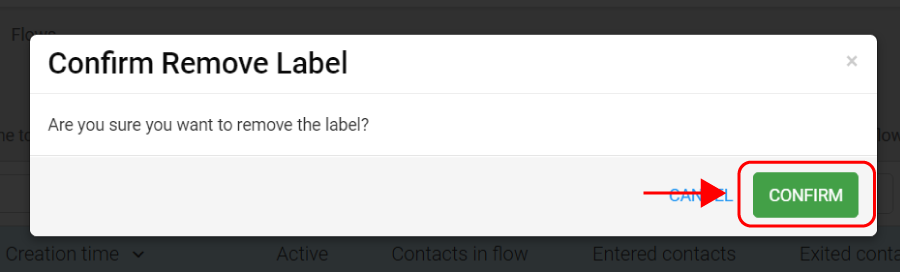
Select Remove label, then Confirm.
The label has been successfully removed from your Flow.
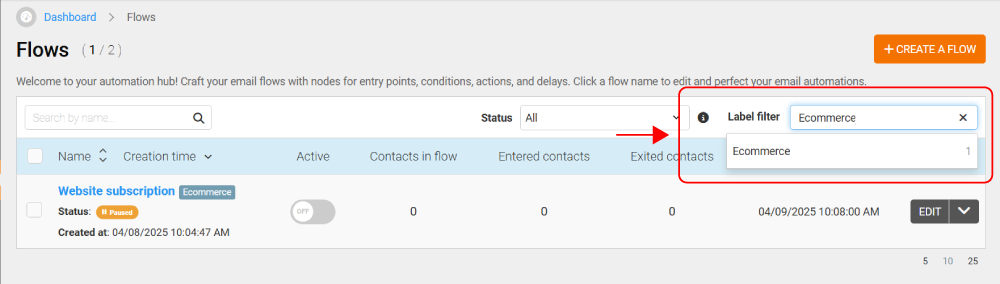
How to filter Flows by label.
Use labels to quickly find what you need:
Go to the Automations section of your account.
Click on the Label Filter bar in the top right corner.