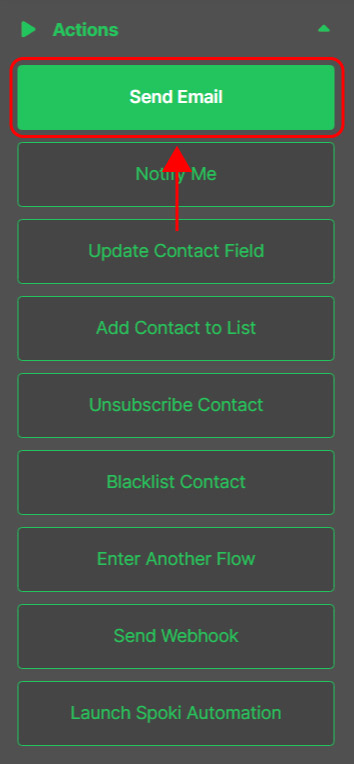
The Send email action allows you to automatically send a message to a contact whenever the flow reaches this node.
It’s the most straightforward way to deliver welcome messages, promotional content, follow-ups, or transactional emails based on the contact’s journey. This action ensures you can send highly targeted messages at the right time, depending on the path your contacts have taken or the events they’ve triggered.
With this action, you can make sure your contacts always receive relevant and timely communications, strengthening your relationship with them and improving the overall effectiveness of your marketing strategy.
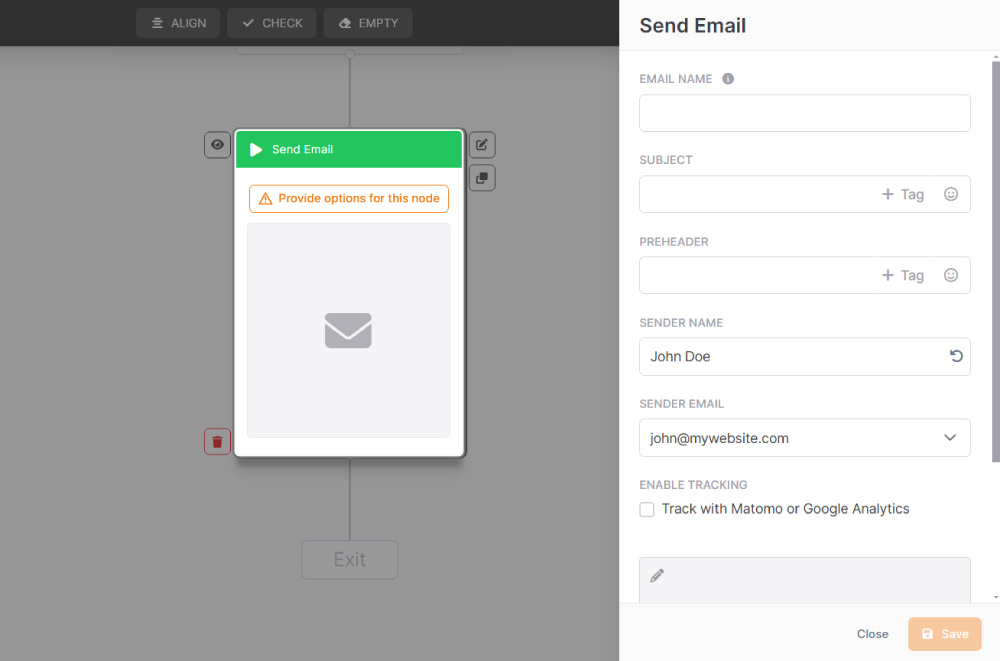
How to configure the “Send email” action.
To set up this action correctly, follow these steps:
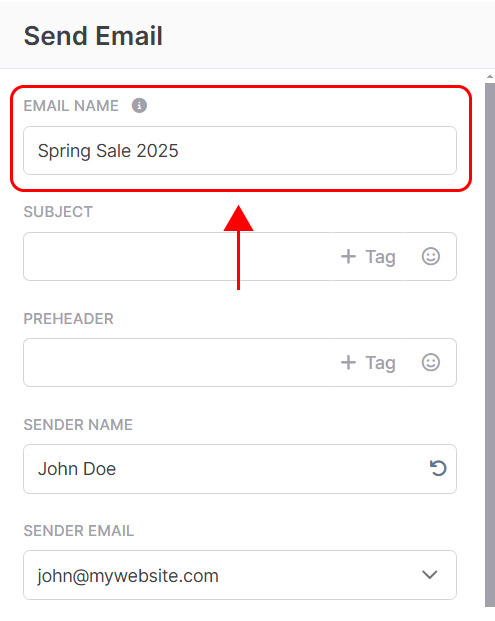
1. Choose the email name.
This name is for your reference only, to help you identify the message inside Emailchef Flow. It won’t be visible to recipients.
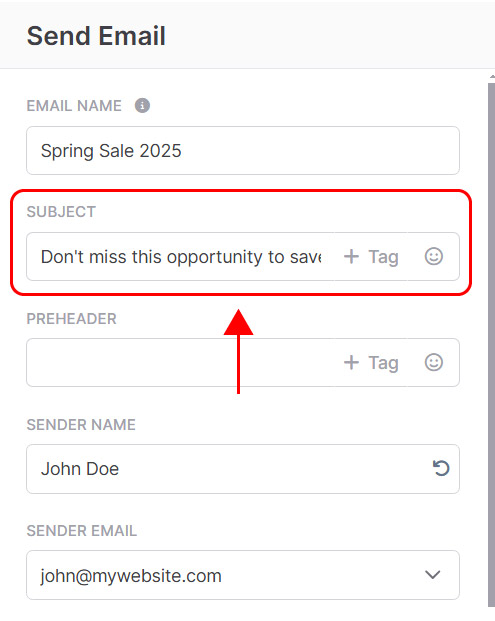
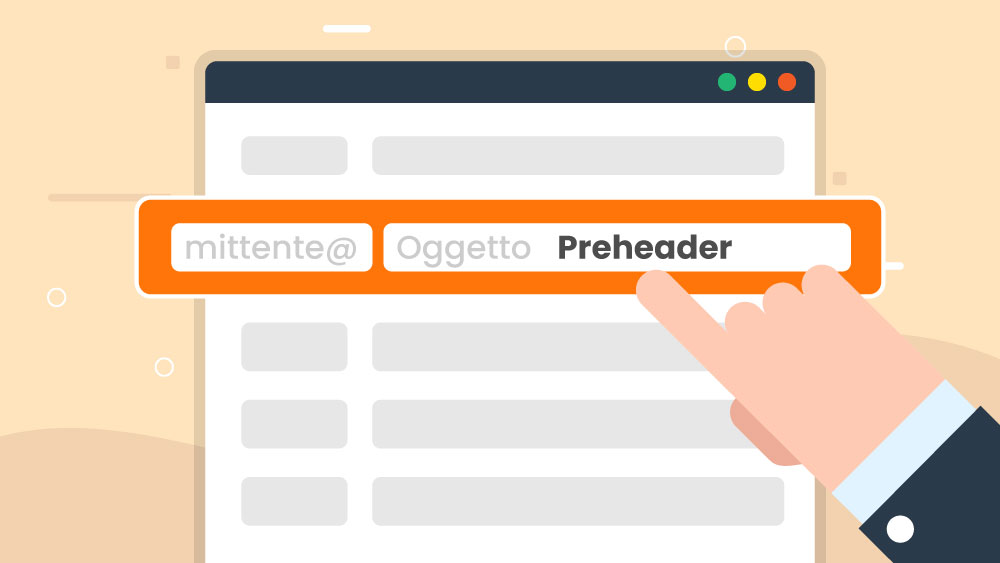
2. Set the email subject.
This is the first thing your recipients will see in their inbox. Make it clear, relevant, and engaging enough to encourage opens.
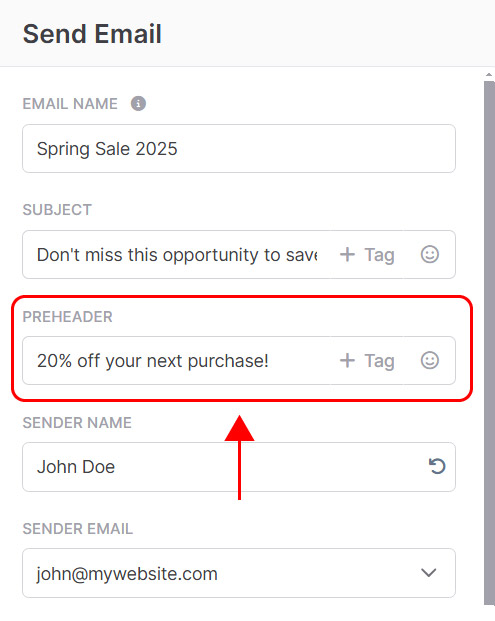
3. Define the preheader.
This short preview text appears next to the subject line in the inbox. Use it to complete or reinforce your subject line.
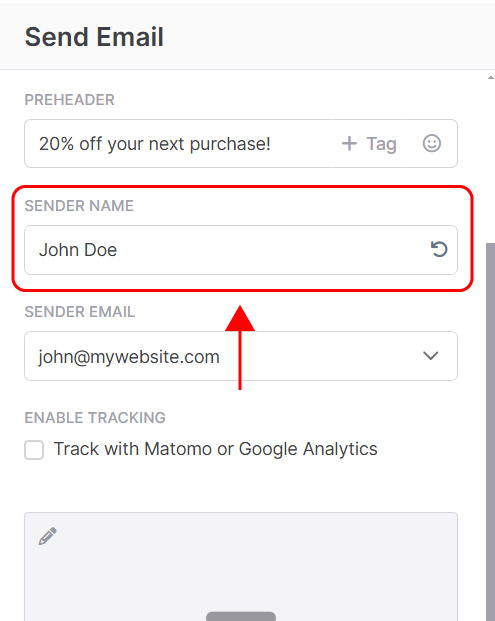
4. Choose the sender name.
This is the name your contacts will see in their inbox (e.g., “Claudia from Emailchef”).
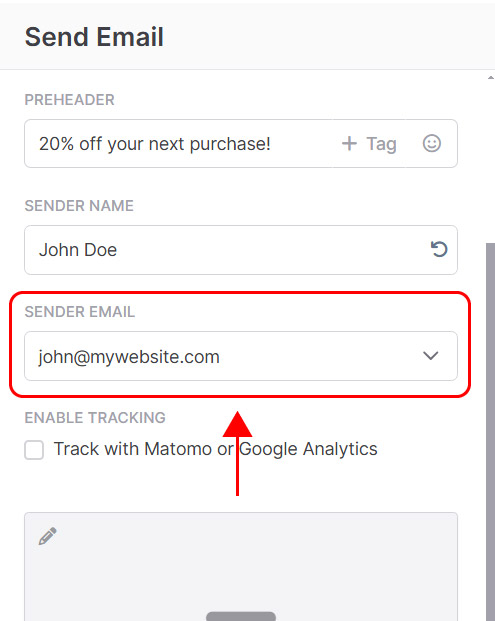
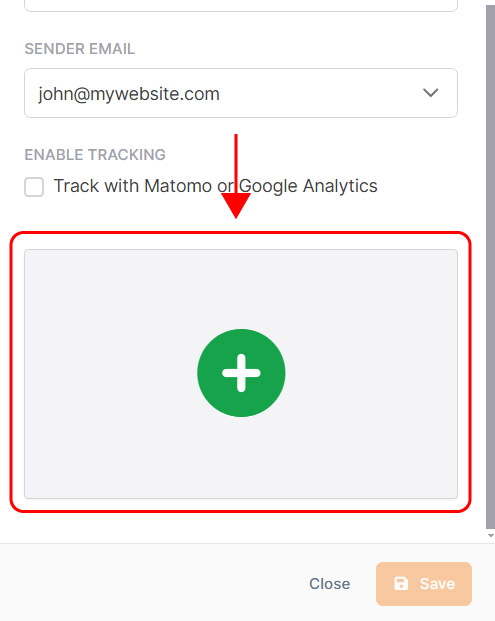
5. Select the sender email address.
It must be one of the verified email addresses already added to your account.
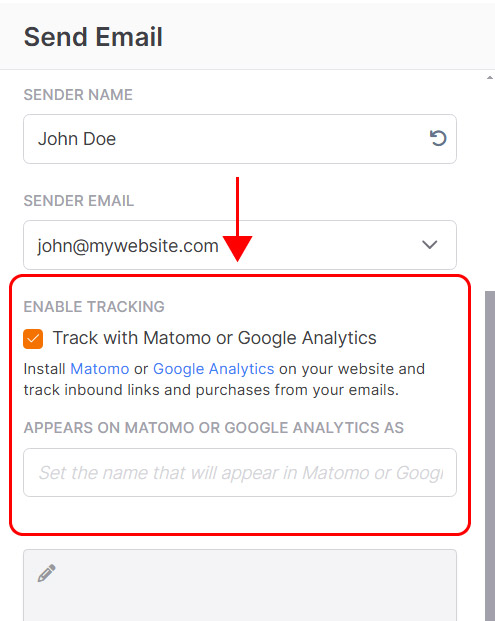
6. Configure tracking (optional).
You can enable tracking for clicked links and purchases coming from your emails. To use this feature, you need Matomo or Google Analytics installed on your website.
If you enable tracking, set the campaign name that will appear in your Matomo or GA reports.
7. Choose the email to send.
Select your message from the template gallery or create a new one.