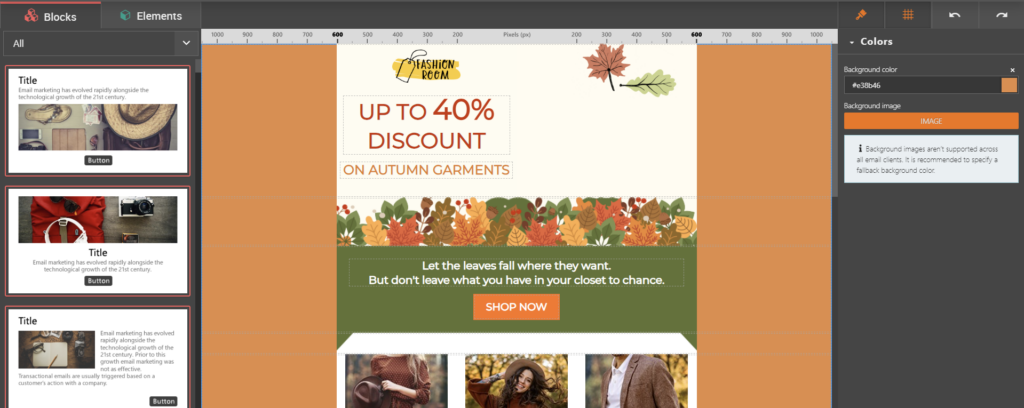
Emailchef’s drag-and-drop editor is designed to be simple, fun, and accessible to everyone.
We created it with a clear goal in mind: to meet the needs of both experts and beginners.
That’s how our block editor came to life. This allows you to create custom, professional emails that automatically adapt to any screen.
And no, you don’t need to know HTML to do it.
This system ensures that your layouts are always perfectly aligned and displayed. Say goodbye to cut-off text, half-visible images, or misplaced CTAs.
Often, with standard newsletter editors, elements tend to shift when you edit the template.
Often, with standard newsletter editors, elements tend to shift when you edit the template.
The blocks were created precisely to prevent this, ensuring that new elements automatically adapt within your email (goodbye to that annoying Frankenstein effect).
On Emailchef, you can choose from a wide range of blocks to add to your emails, and of course, you can modify them at any time (maybe by adding images, text, or calls to action), move them wherever you like, or remove them.
But that’s not all.
If you want, you can create your own design starting from blank, fully customizable layouts.
Alternatively, you can edit one of our ready-made templates. Emailchef offers a gallery of over 1,000 ready-to-use, optimized templates prepared by our designers.
They already come with content that you can edit and personalize in just a few clicks 😎.
In short, without any experience in email design, you’ll be able to create professional templates perfectly displayed on all devices and email clients (such as Outlook, Thunderbird, or Mail).
And if you want to preview how your email will look on desktops, tablets, and smartphones, you can see it at any time by clicking the icons above your template.
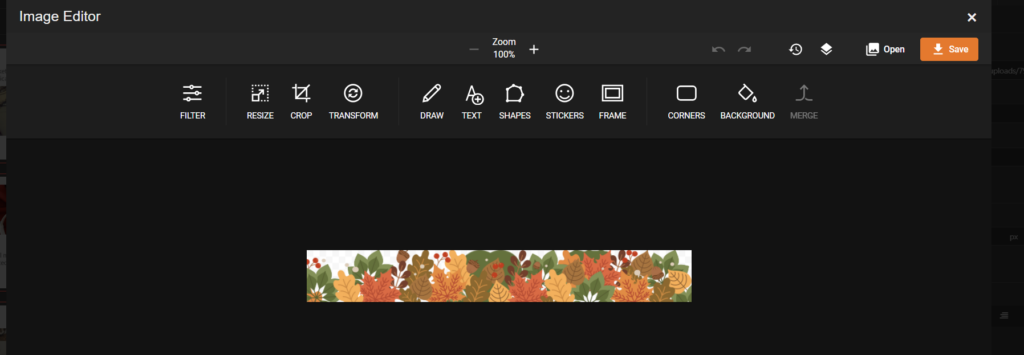
Have you inserted images and want to edit them?
Use Emailchef’s photo editor, and you won’t need external programs. Crop your images, resize them, add borders, stickers, apply filters, and much more.
All uploaded images (as well as the templates you create) will be saved in the cloud storage included with your subscription.
Looking for a step-by-step tutorial? We’ve got you covered!
Need assistance? Contact us!
Our customer service team is here to help.


